Building the Deadzone Diorama – Part Two
14th Jun 2016
Dave
If you missed out on part one, you can find it here.
This project was a mammoth task and I don't quite think I knew what I was getting myself into. Painting models and painting terrain is something I have been doing for over 20 years, but I had never created a diorama... especially one as epic as this.
Painting such a large model is great fun for me. Oh how I do love my airbrush.
[caption id="attachment_16113" align="aligncenter" width="482"]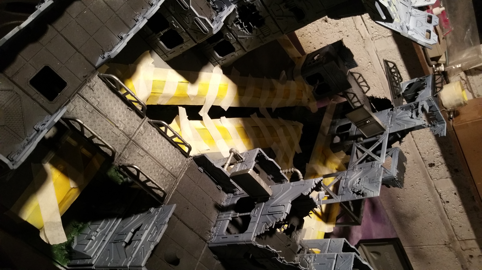 All about the hazards.
[/caption]
[caption id="attachment_16114" align="aligncenter" width="482"]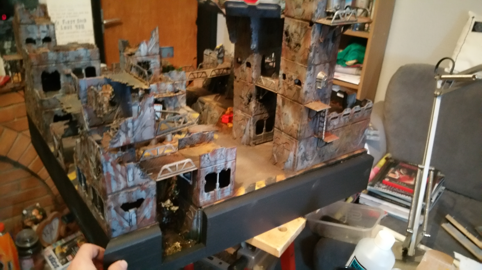 Adding a nice boarder to give it a nice professional finish.[/caption]
[caption id="attachment_16115" align="aligncenter" width="482"]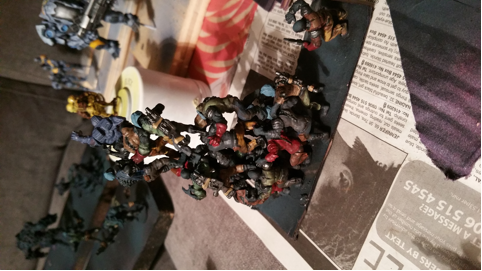 Zombies!!![/caption]
[caption id="attachment_16116" align="aligncenter" width="482"]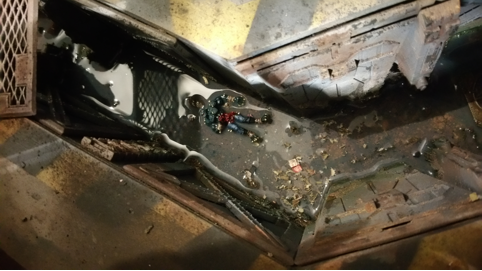 Water effect and some leaves.[/caption]
Challenges of LED's
[caption id="attachment_16117" align="aligncenter" width="482"]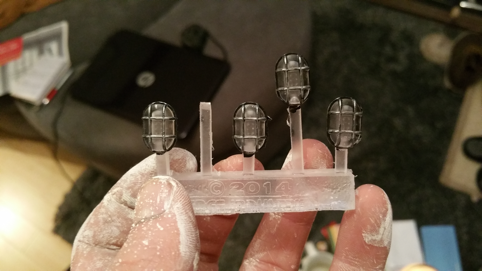 LED's here we come.[/caption]
LED's. Oh where do I begin here... fully capable of wiring my house, but this nearly killed me. I will be honest these required a lot of planning, and should have been the first thing I did, not the last. Holes needed to be drilled to hide wires, which was very hard with an assembled piece. But I couldn't be happier with how they came out.
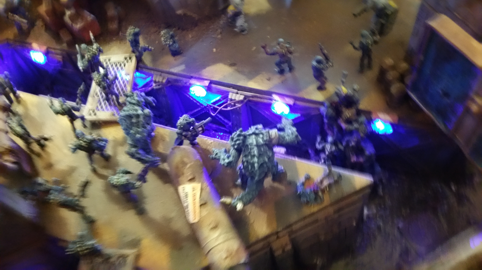
Smoke
[caption id="attachment_16119" align="aligncenter" width="312"] Inspiration.[/caption]
When it came to the smoke, we had a few options, sprayed cotton wool, wire wool and expandable foam. I felt cotton wool would look the least professional, and wire wool might cause issues with the electrics and create a lovely real fire. Leaving me with expandable foam. Word of advice, build a frame, and take your time. Do a little bit, let it set, then do a bit more. Build up slow and always wear gloves (unlike me) as this stuff does not come off your hands. Also if you get it where you don't want it, let it set and pick it off, don't mess with it when wet.
[caption id="attachment_16120" align="aligncenter" width="482"]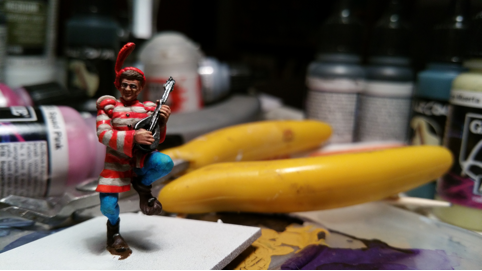 Where might this guy be hiding?[/caption]
[gallery size="large" ids="11233,11234,11235"]
[caption id="attachment_16124" align="aligncenter" width="482"]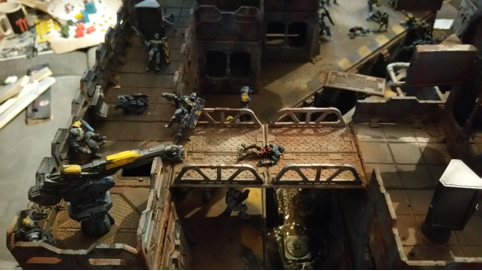 Placing before gluing.[/caption]
Fun with windows
Now I have no idea where I got this idea from, but with a bit of experimenting I painted a base of silver, that was then covered in Tamiya clear blue. After a coat of crackle paint and some gloss varnish and voila! The windows were done on a clear laminate sheet with the same idea, but without the base silvers. Cut to fit the holes.
[caption id="attachment_16125" align="aligncenter" width="482"]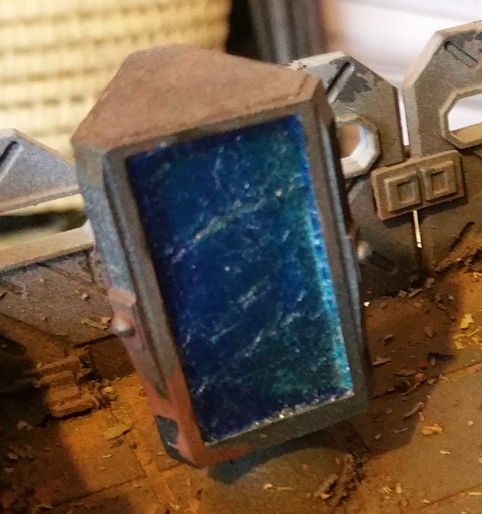 On the advert boards.[/caption]
[caption id="attachment_16126" align="aligncenter" width="479"]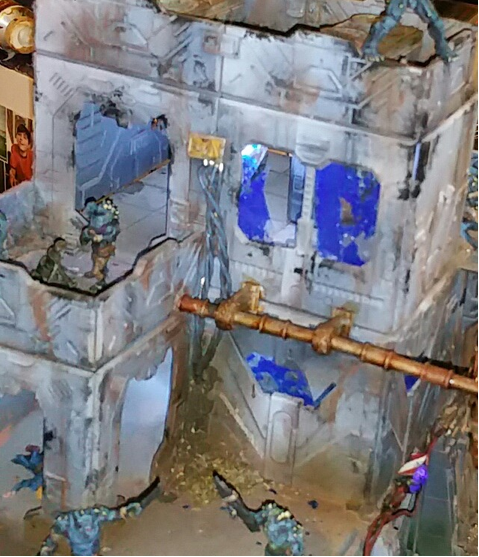 And the windows.[/caption]
After a visit from the Boss man to see how things were progressing, I got a little goodie bag in the post. Being a big Metallica fan I couldn't resist.
[gallery columns="2" size="large" ids="11236,11237"]
Where next? Well we will leave that up to the big man. I for one think some more displays would look great for the head office, don't you?
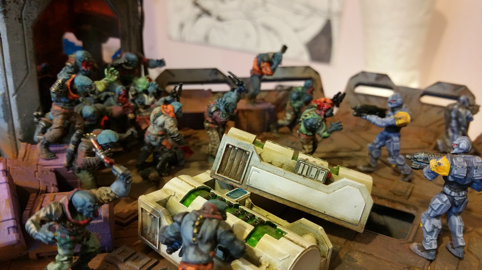
Fancy trying it for yourself? Check out our Battlezones Scenery and get building!

 GBP
GBP  EUR
EUR  USD
USD