DreadBall Painting Blog – Martin’s New Eden Revenants Cyborg Team
28th Feb 2018
Martin Thirlwell
Hi guys, it's Martin here, the global trade marketing manager here at Mantic (basically it means I talk to retailers a lot about stuff),
I thought I'd pop in to give you a quick overview of how I painted my New Eden Revenants, ahead of DreadBall second edition launching in March. This was my first ever DreadBall team and I was inspired to get involved after watching the guys here play some games of second edition during our regular Monday Night Gaming Clubs.
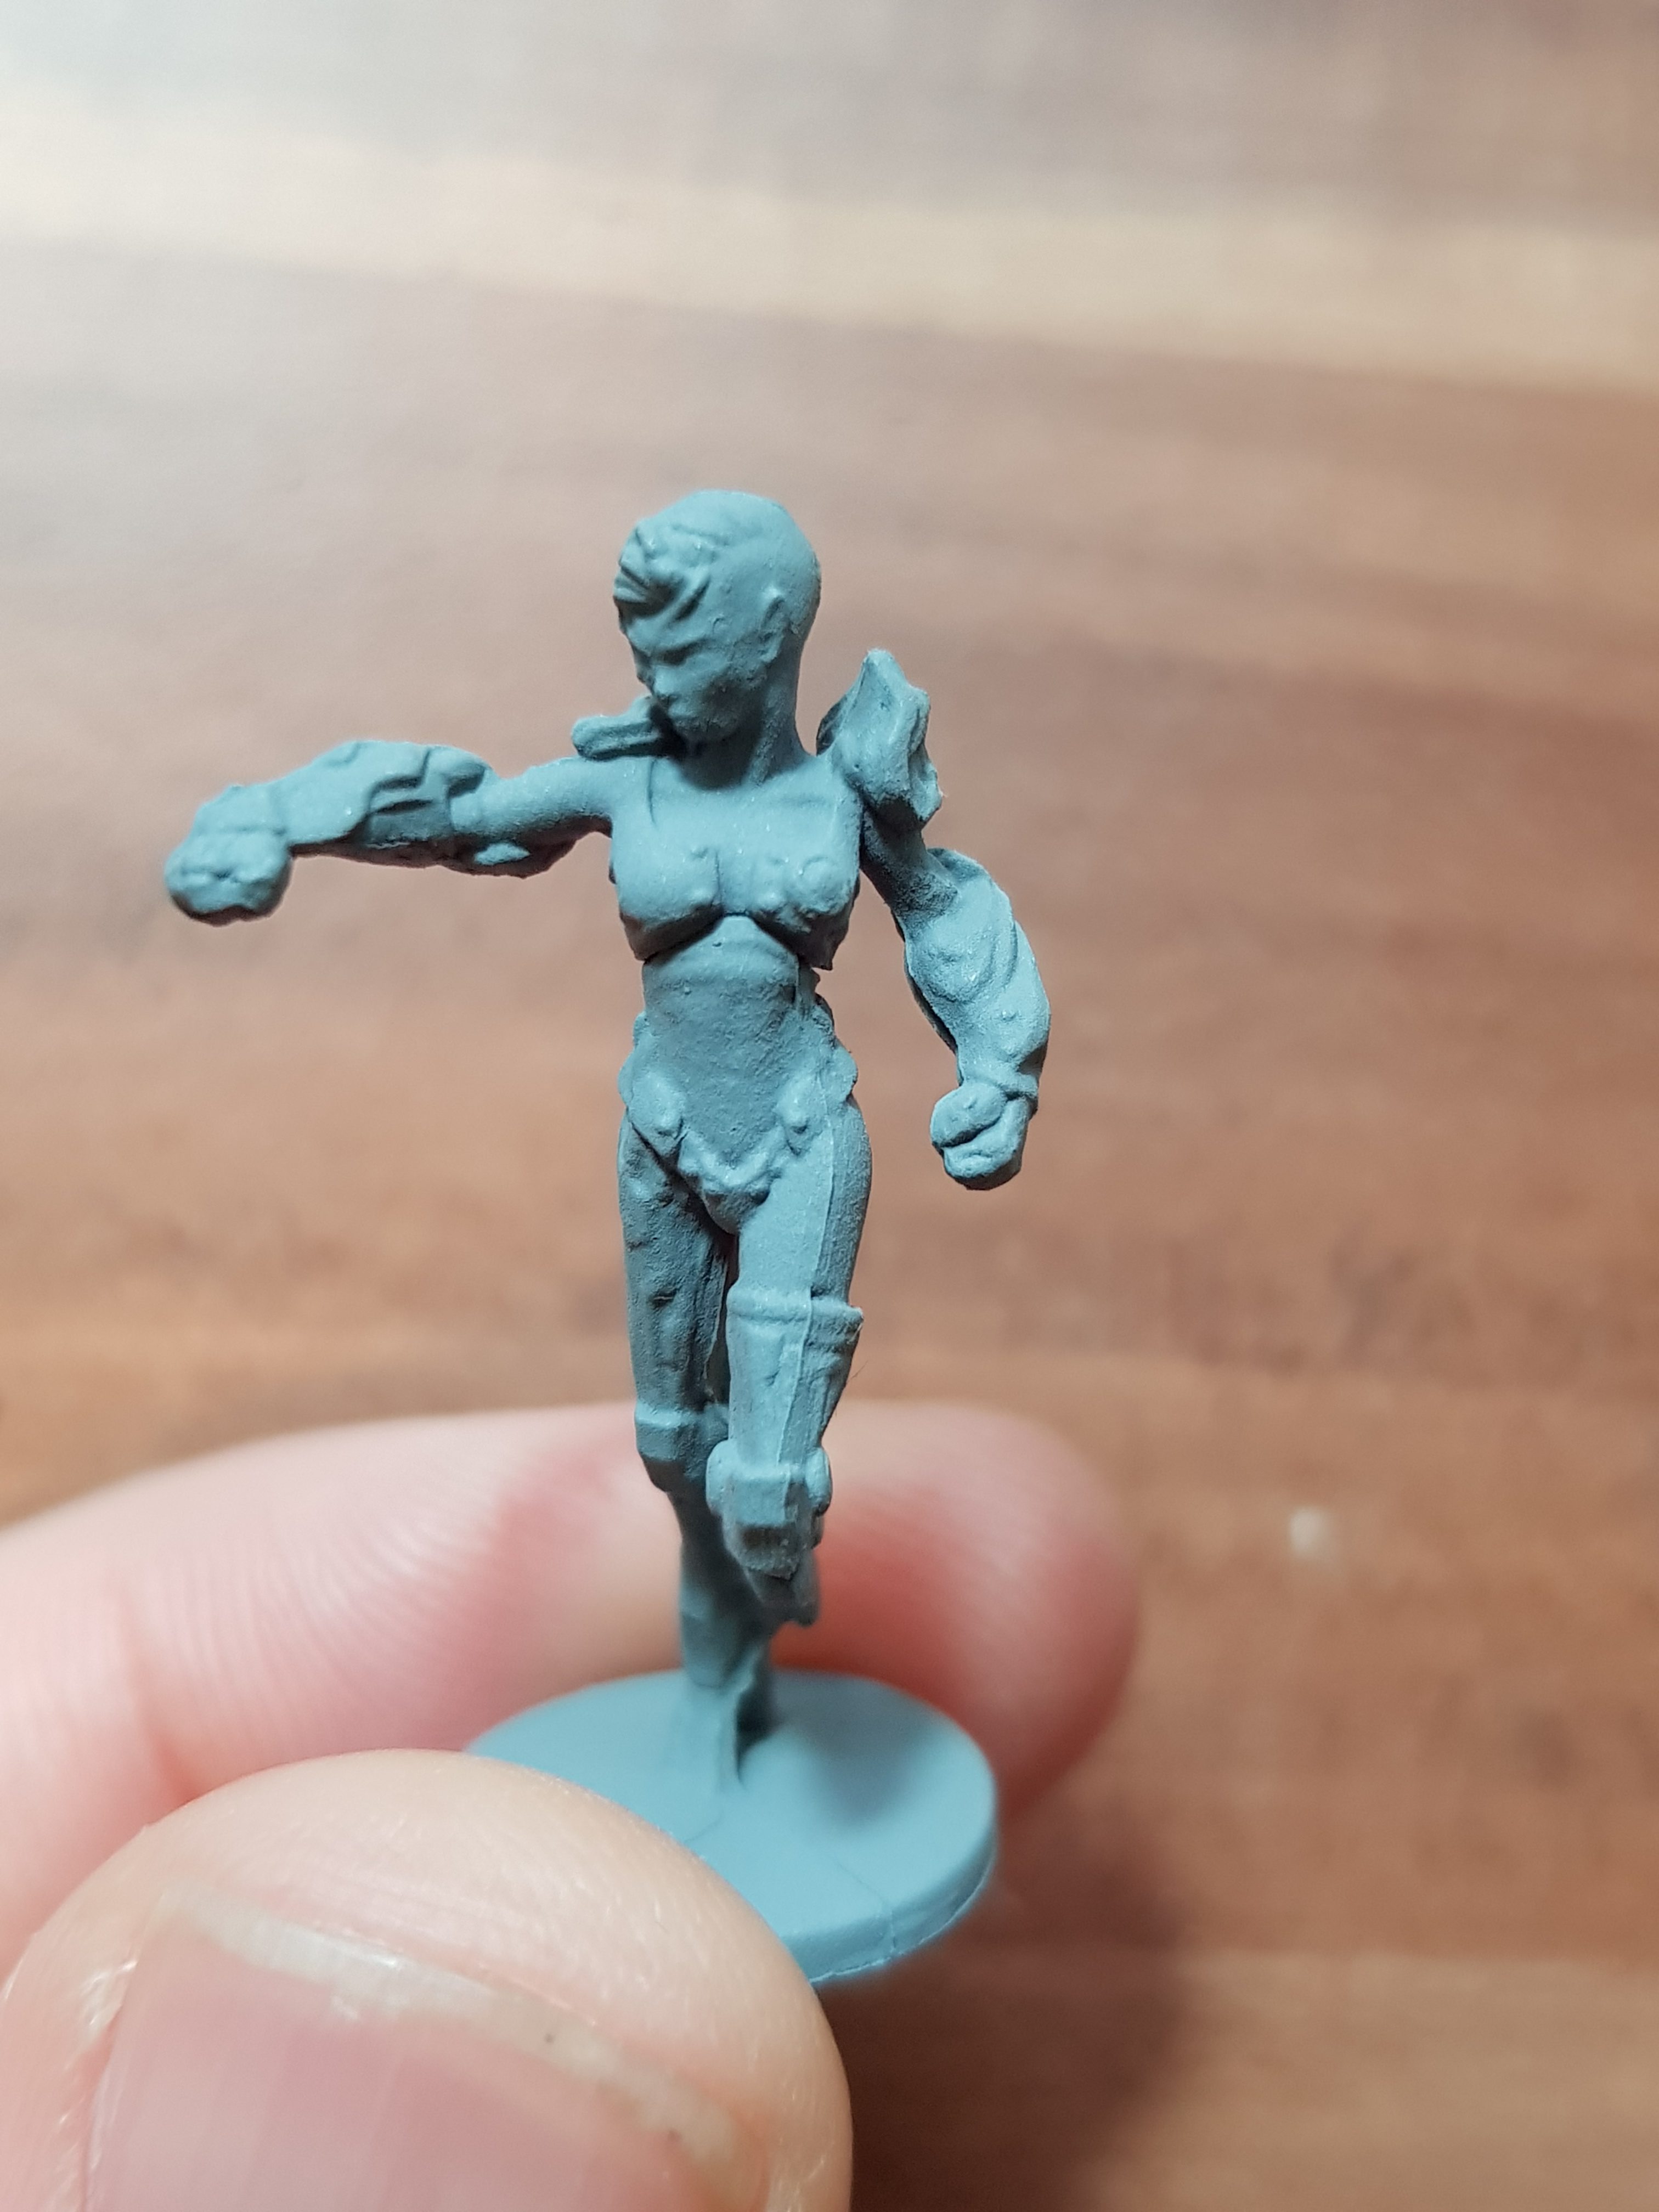
As with most of the miniatures I paint I start with a grey primer (I use a rattle can primer from a local hardware store). I find this gives me a neutral colour to start with, allowing me to go light and dark as I see fit. I also didn't have the bases attached as I wanted to keep them as clear plastic. These were the Kickstarter versions, so didn't come with the bases attached. If you pick up the retail versions, the bases are already attached so you'll just need to cover them up if you want them to be clear.
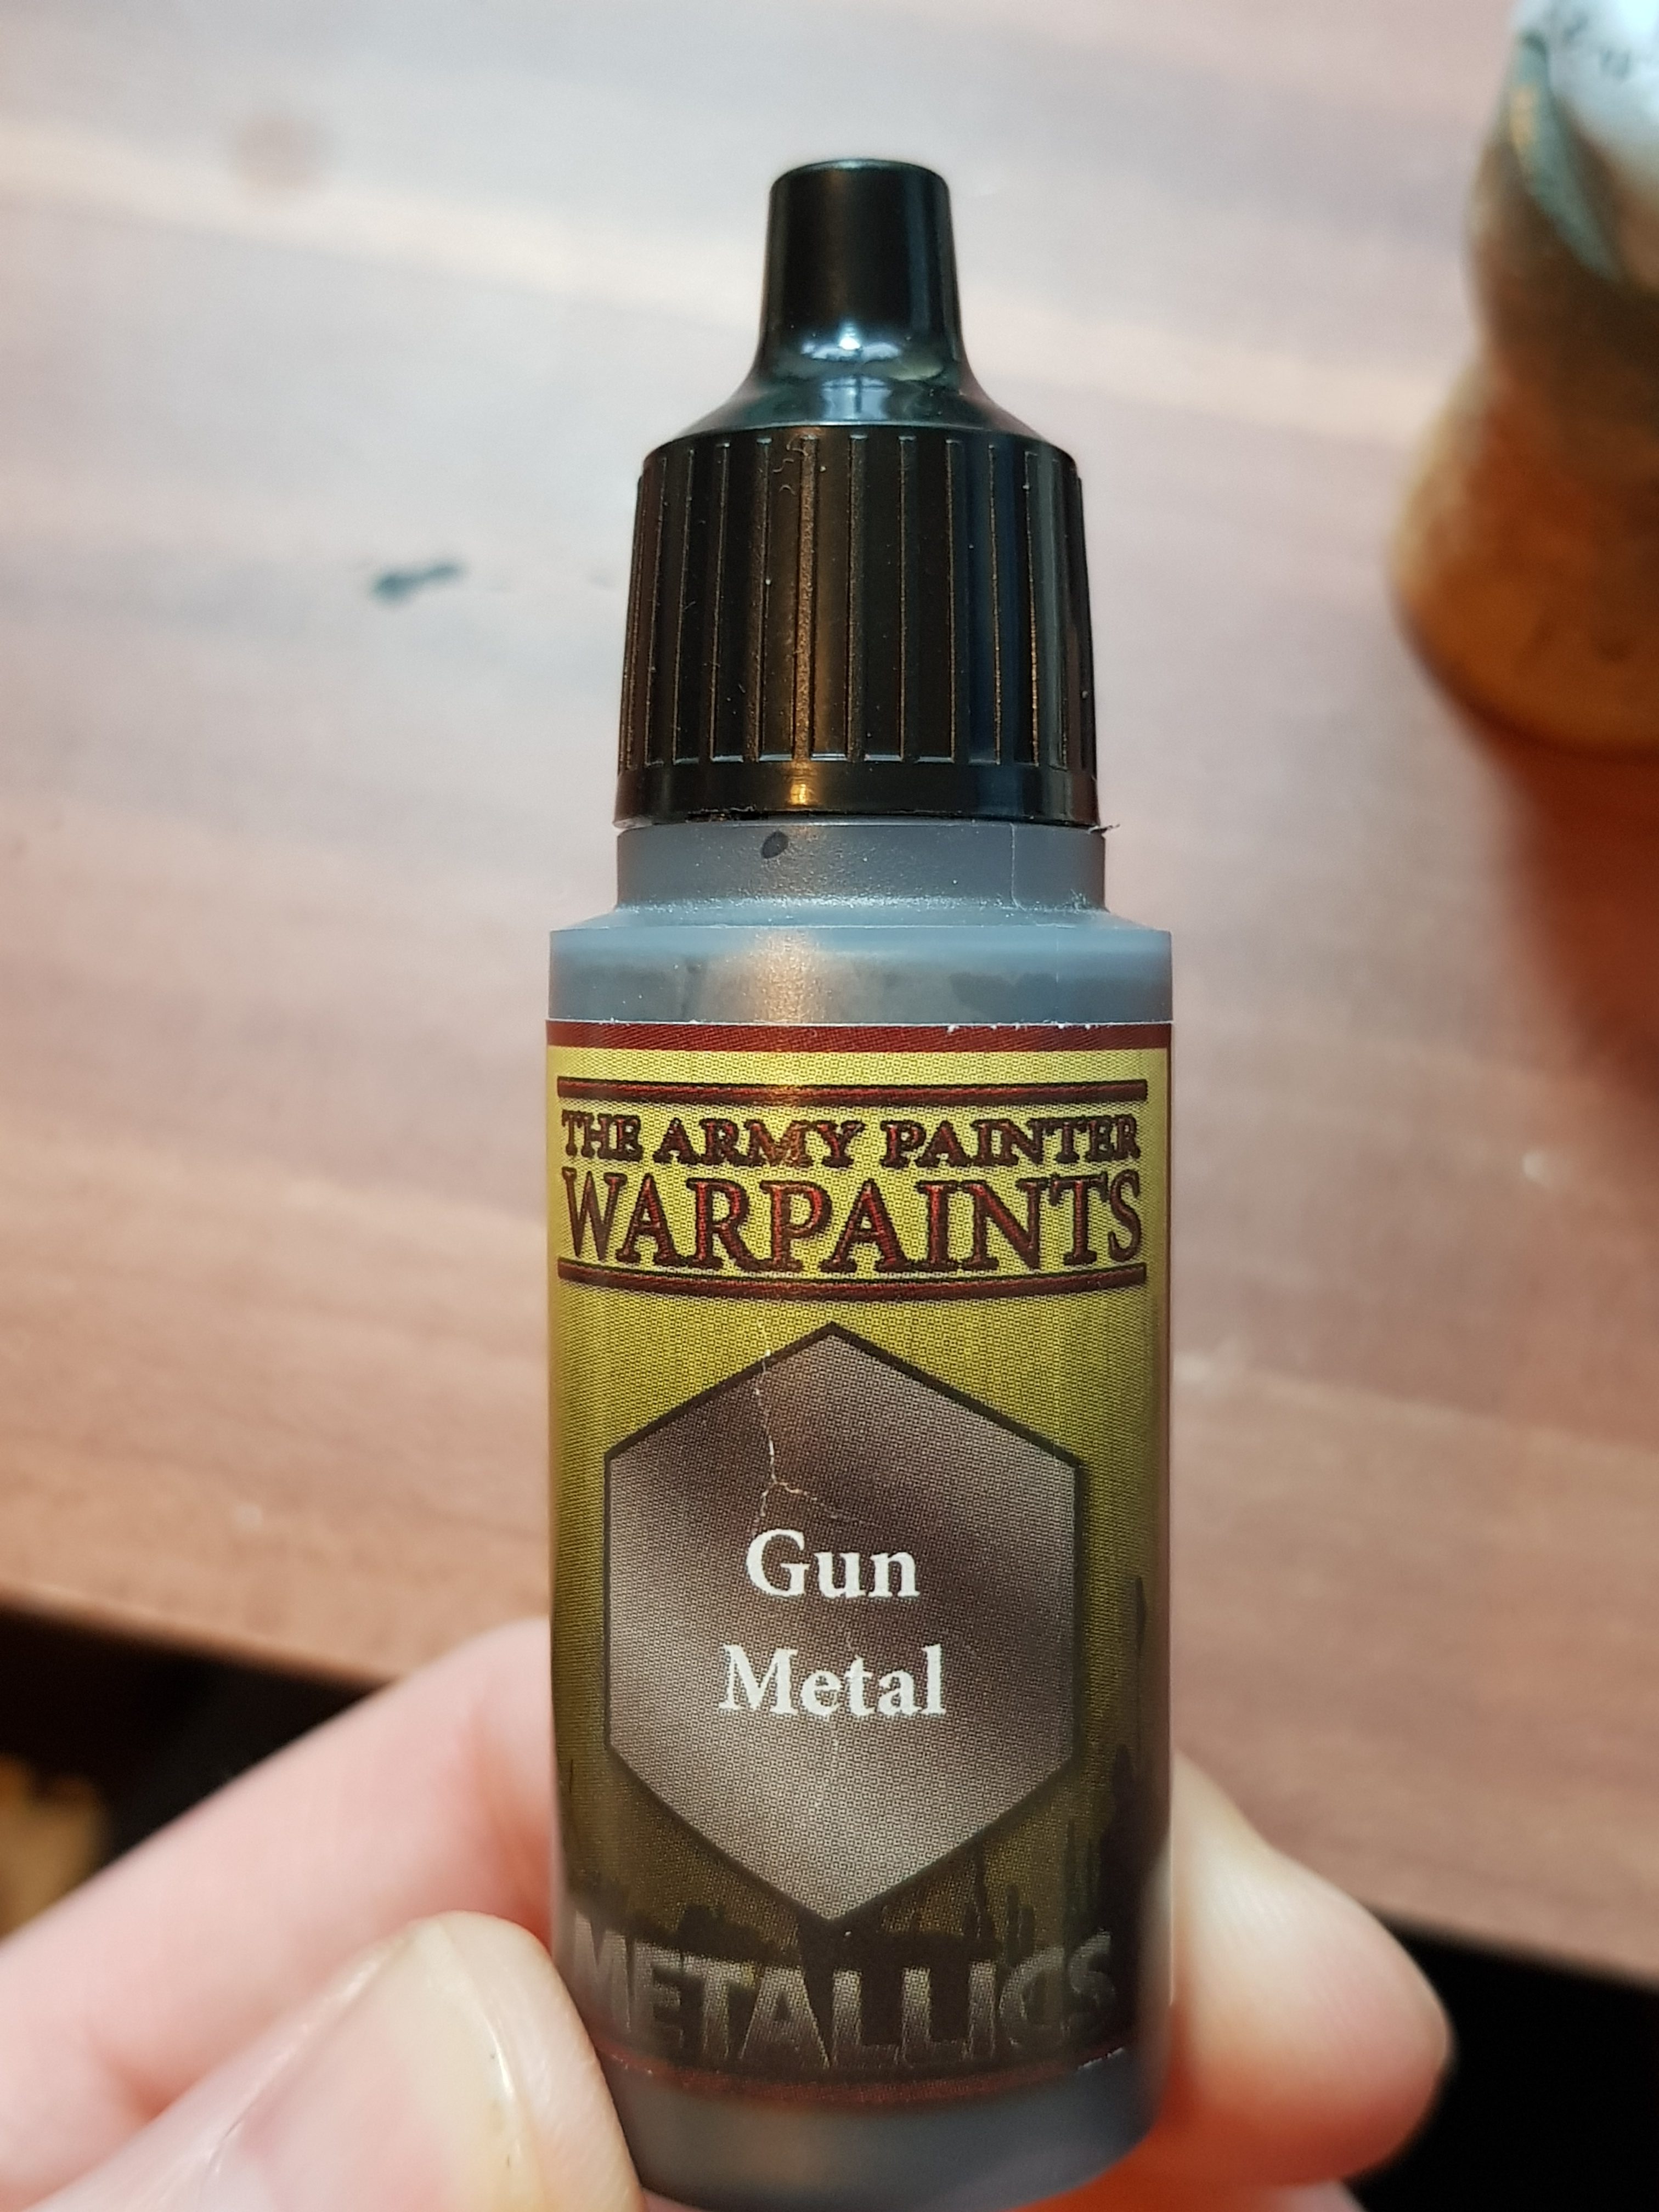
The next stage was to do the metal sections of my cyborgs. With most of the team, the metal is the majority of the model so to start with this part made the most sense, then I can pick out details to brighten them up. I used Gun Metal from Army Painter. This is perfect for a base coat metal and has been my go-to for a few years. I then gave them a good wash with Oil Wash to bring out the shadows and add depth.
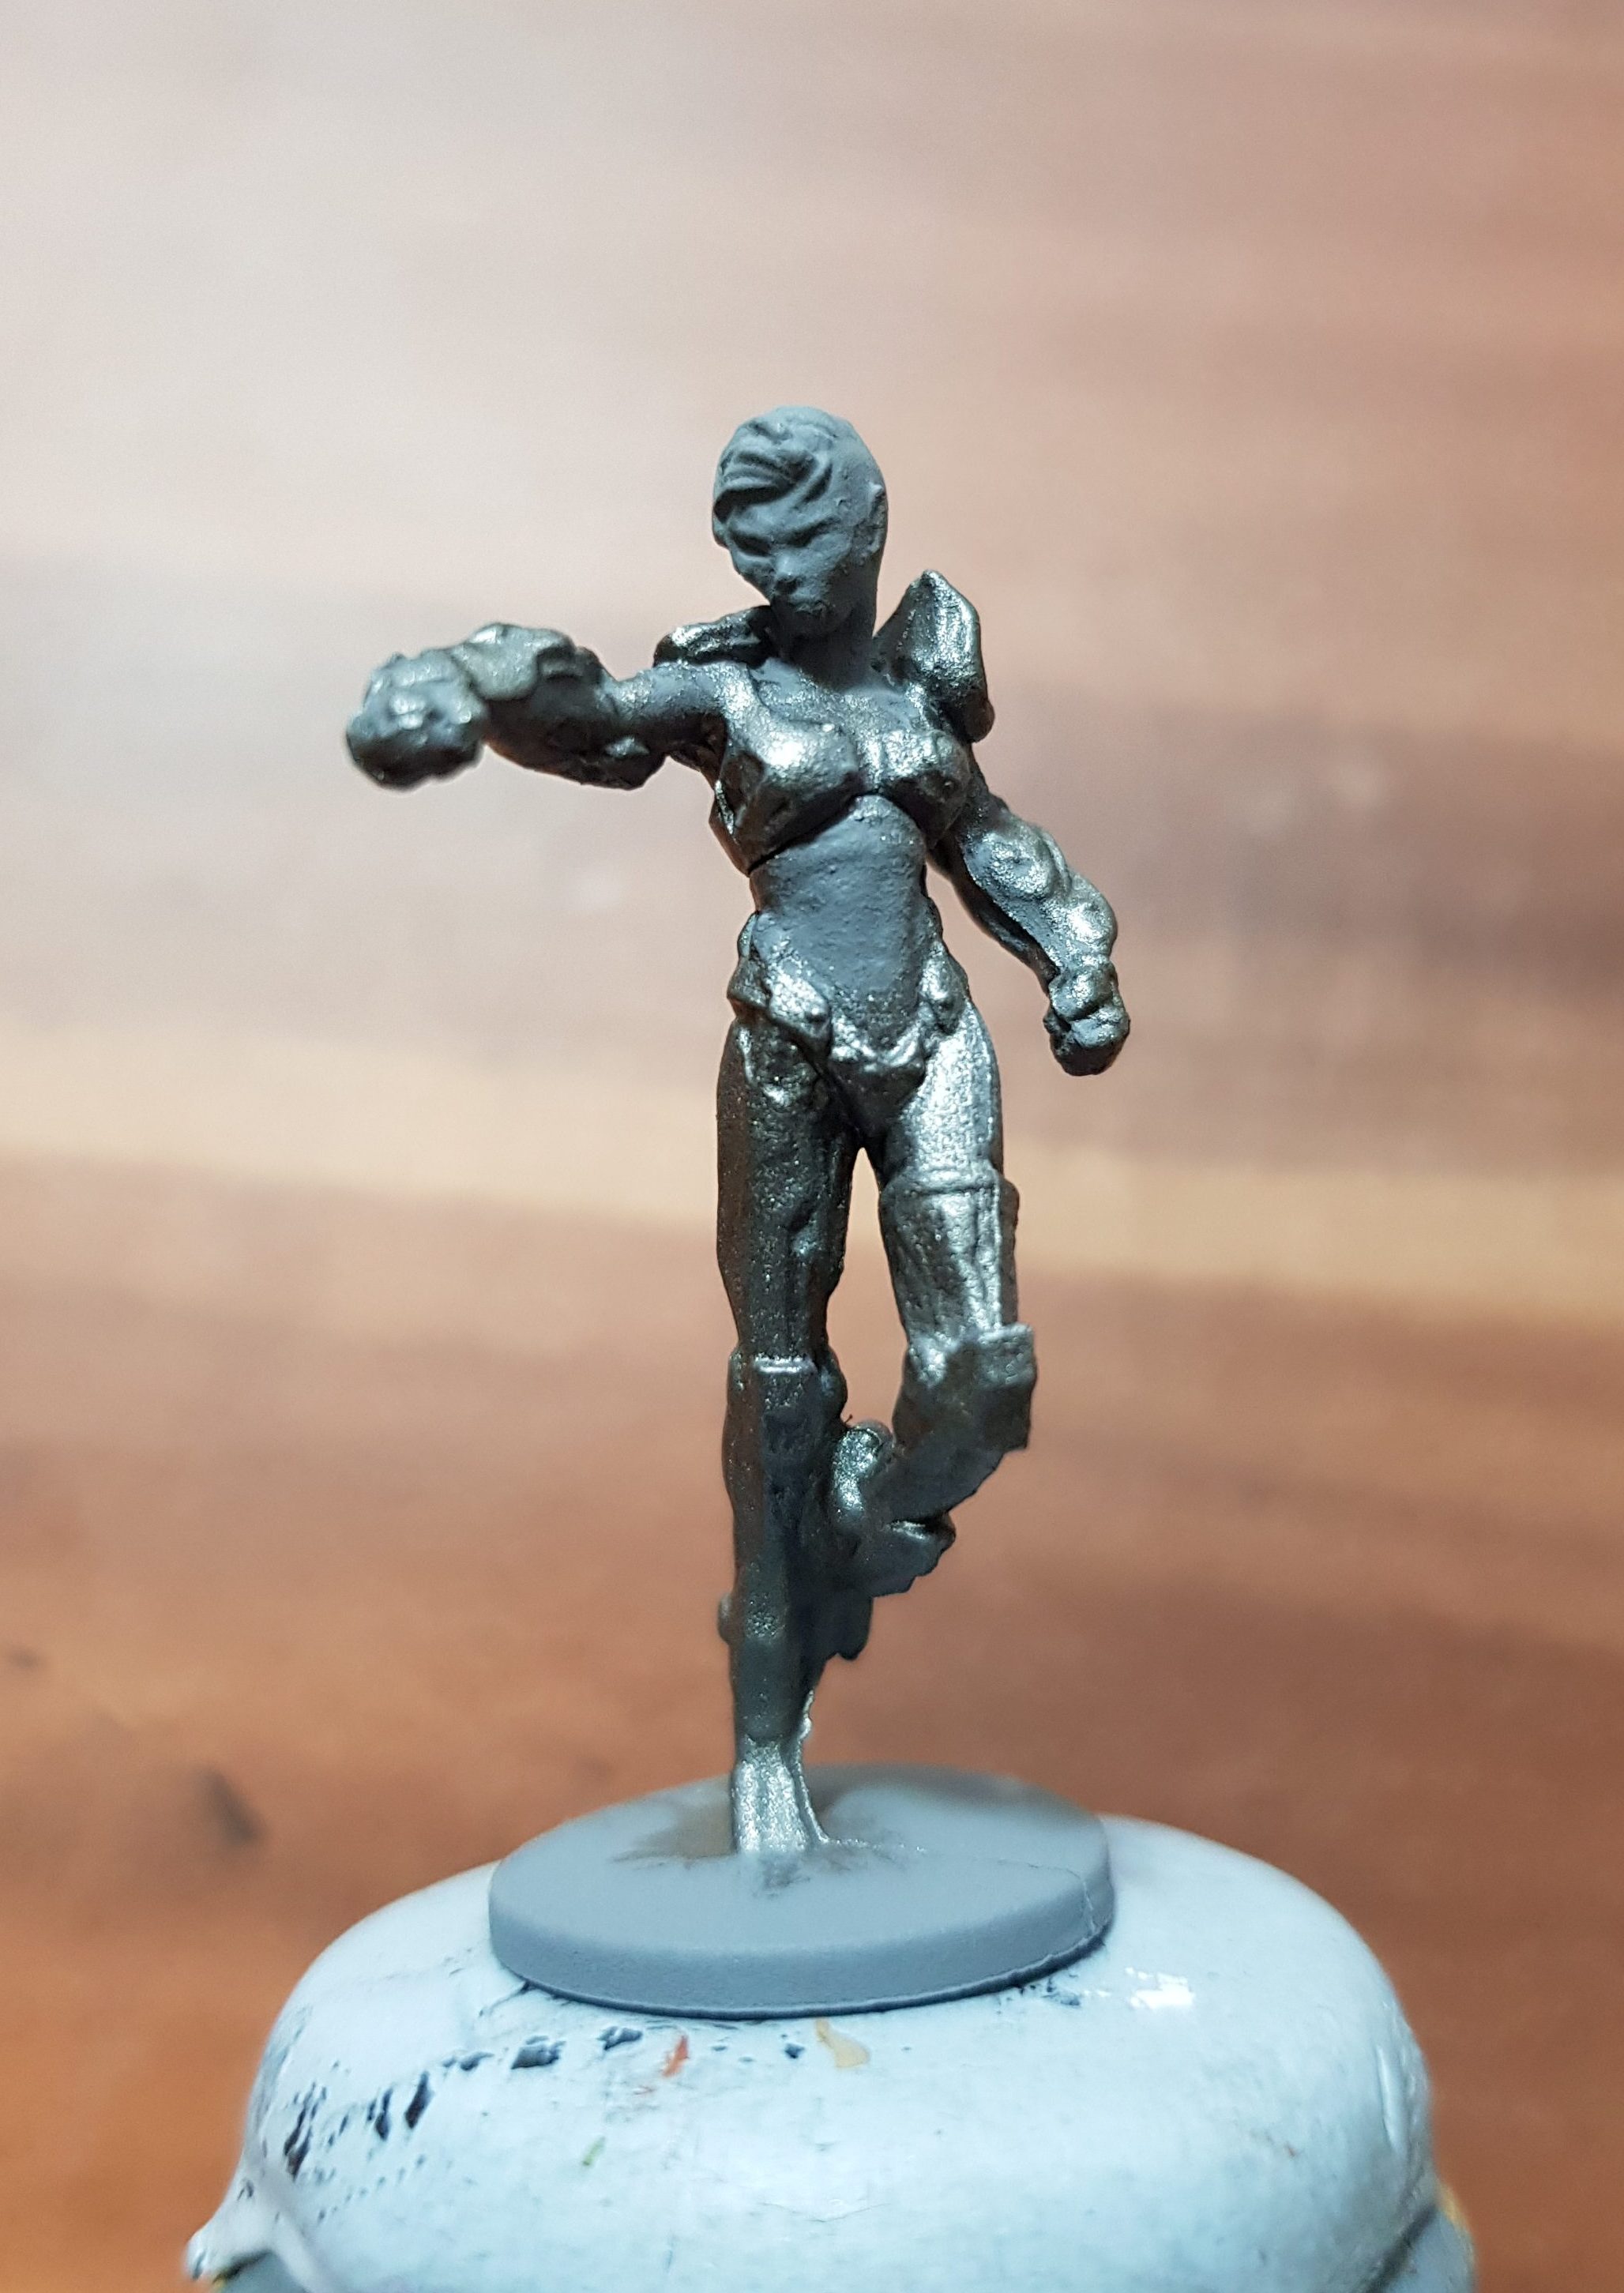
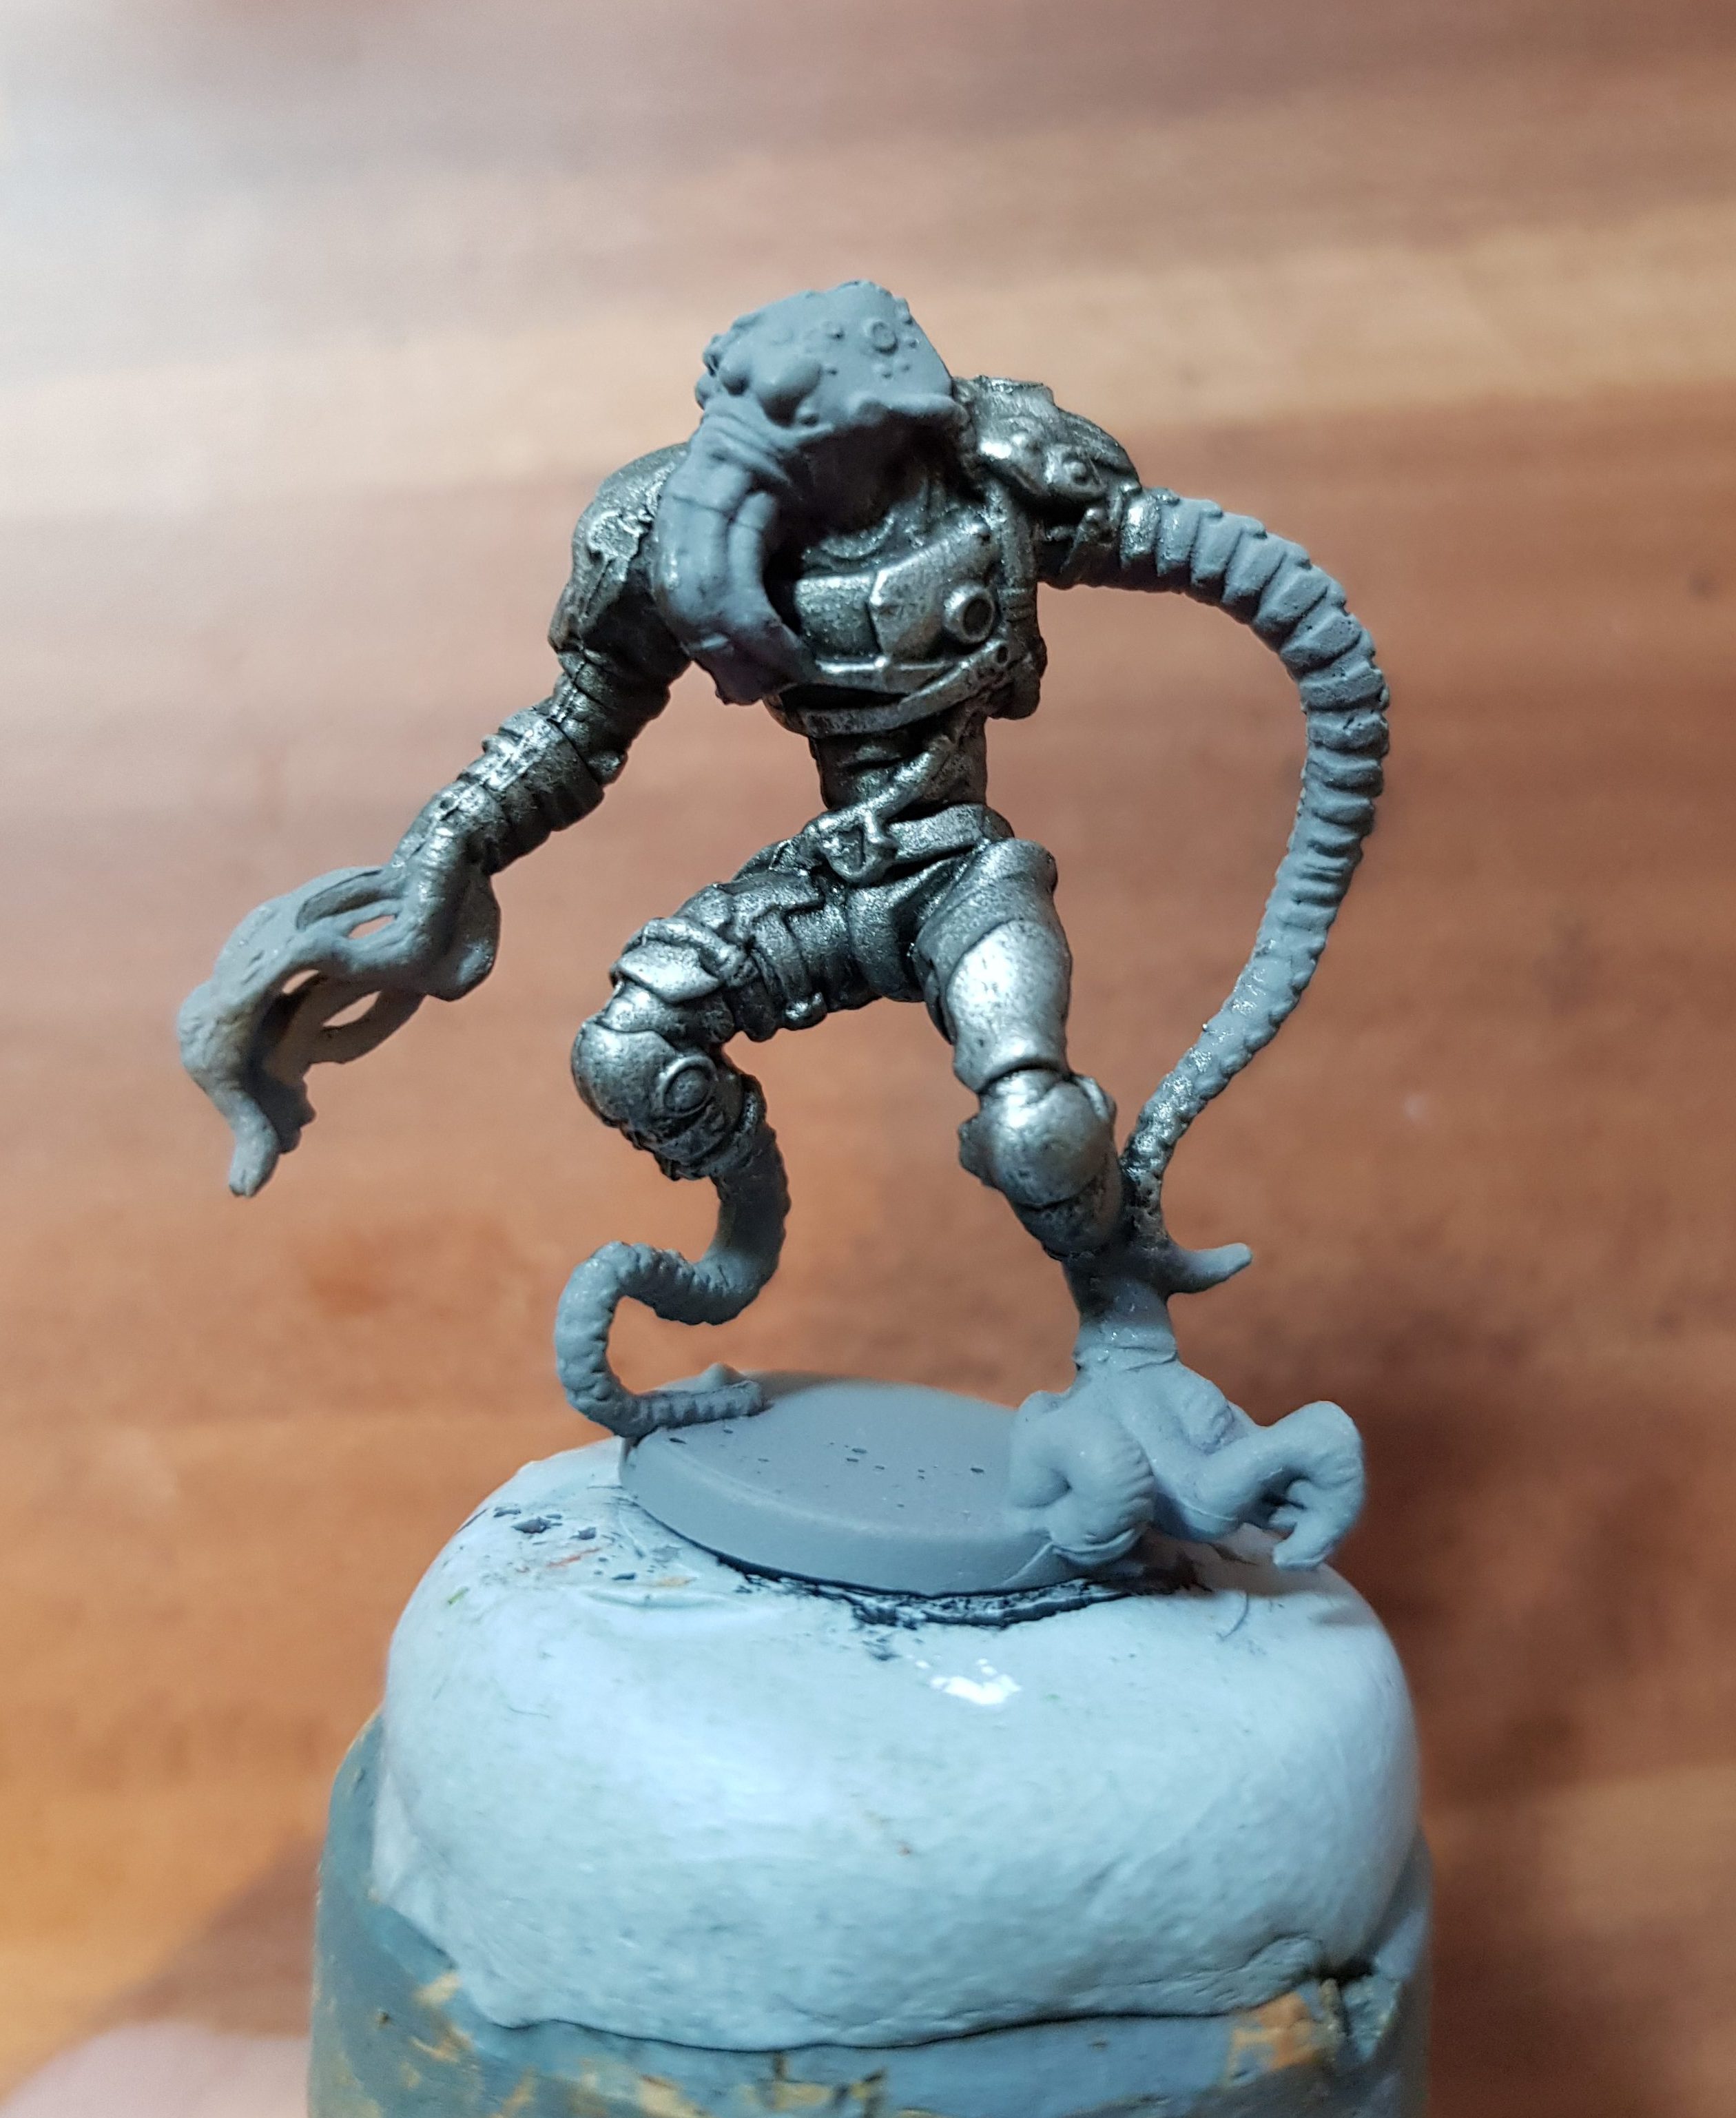
Once the whole team was done, I then brought out the metal highlights using Vallejo Aluminium and the drybrush technique.
Now came the fun bit. Picking what colours I wanted to paint the skin tones and details. As there was so much metal on the mini I wanted to make sure all these elements stood out as much as possible.
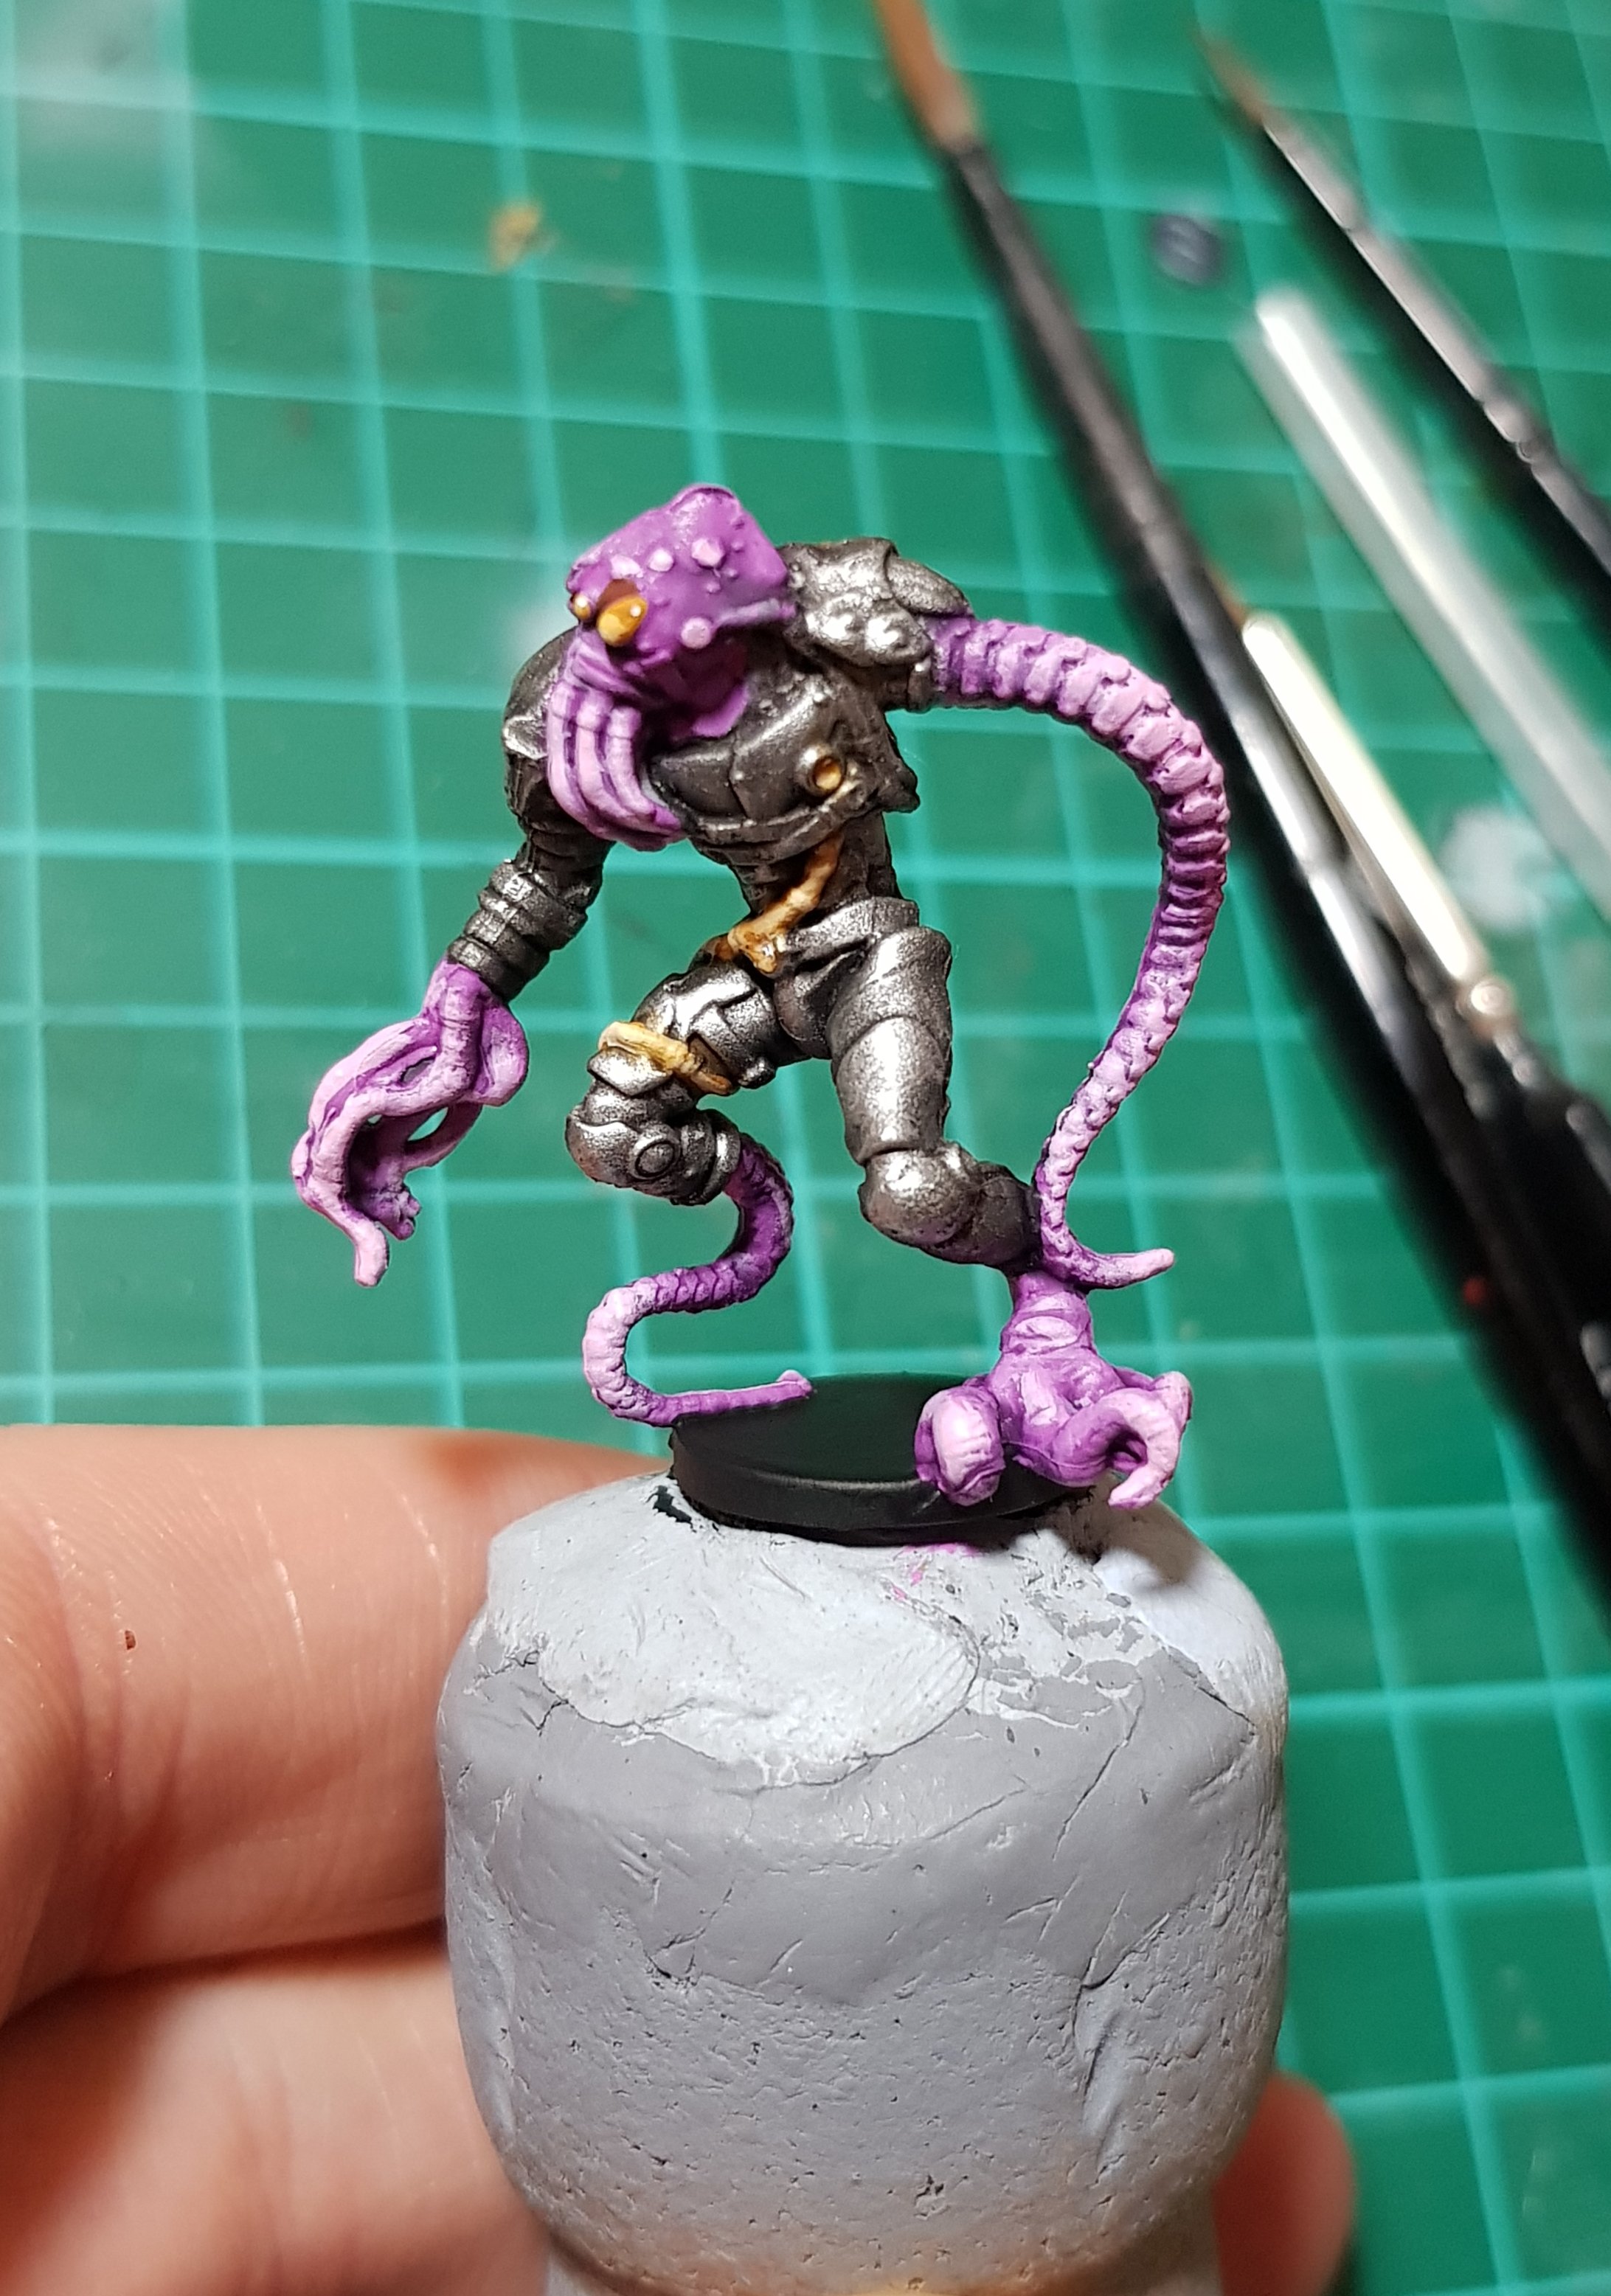
 For the Nameless Guard models I did two different colours to experiment. For the Pink I did a base colour of Vallejo Purple, washed with a purple ink then highlighted with P3 Ryn Flesh, adding Vallejo Ivory incrementally to bring out the highlight. The eyes and details were done with yellow, a sepia ink for shade and then highlighted by adding white to the yellow. Finishing off with a white dot to simulate a glossy shine.
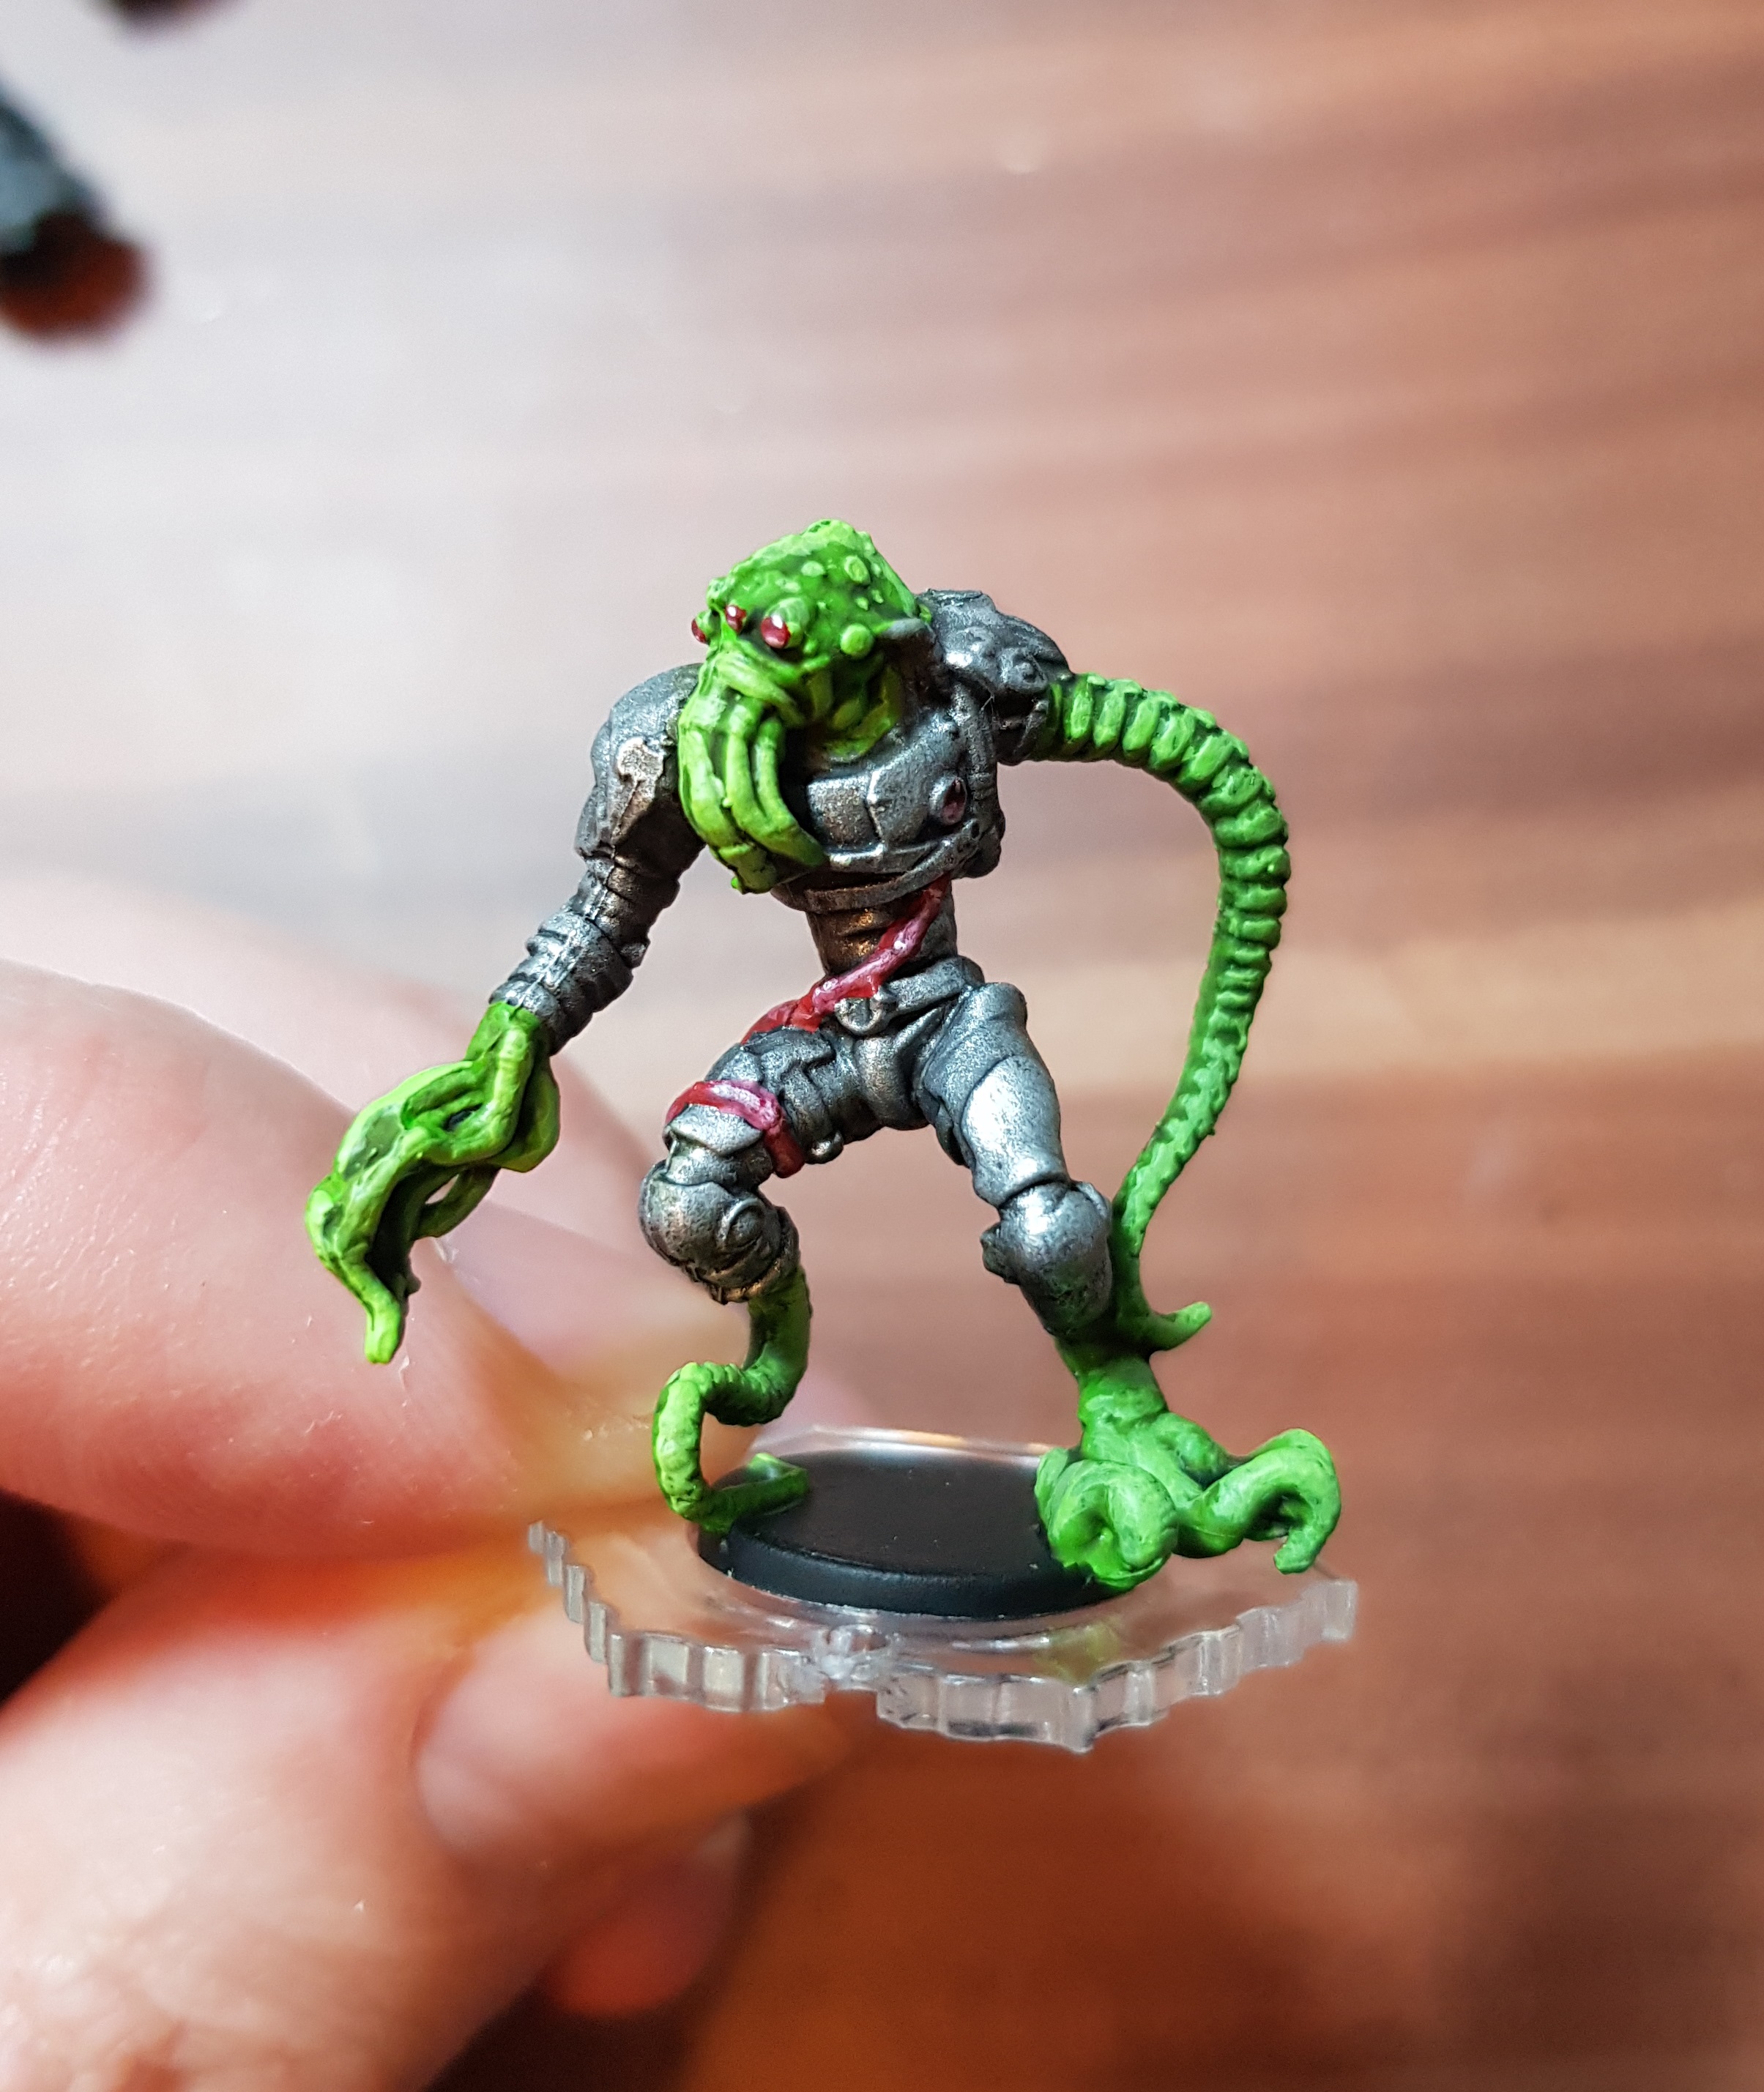
The Green Nameless was a base coat of P3 Necrotite Green, Green Camoshade wash and then highlighted back up with Ivory mixed with the green. The eyes and details were done with a similar technique to the yellow, just this time it was red, crimson ink and ivory/white for the highlight. There are plenty of online guides on how to paint jewels, I just used one of those techniques.
The rest of the team were pretty much done the same way. I chose interesting colours for their fleshy bits and then a different striking colour for their glass and tube parts.

Thanks for reading!
Martin
