Hobby Blog Water Effects – Martin’s Armada fleet
27th Nov 2020
Martin Thirlwell
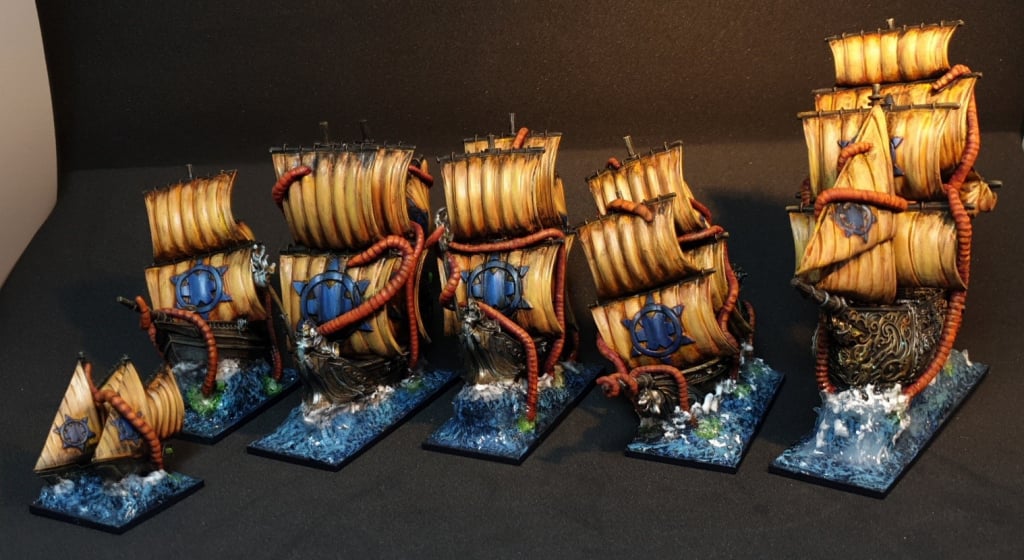
Hello everyone, Martin here! I've been asked a couple of times how I did the water effects for my Basilean Armada fleet. Well, they were Basilean, there are now NIGHTSTALKERS!
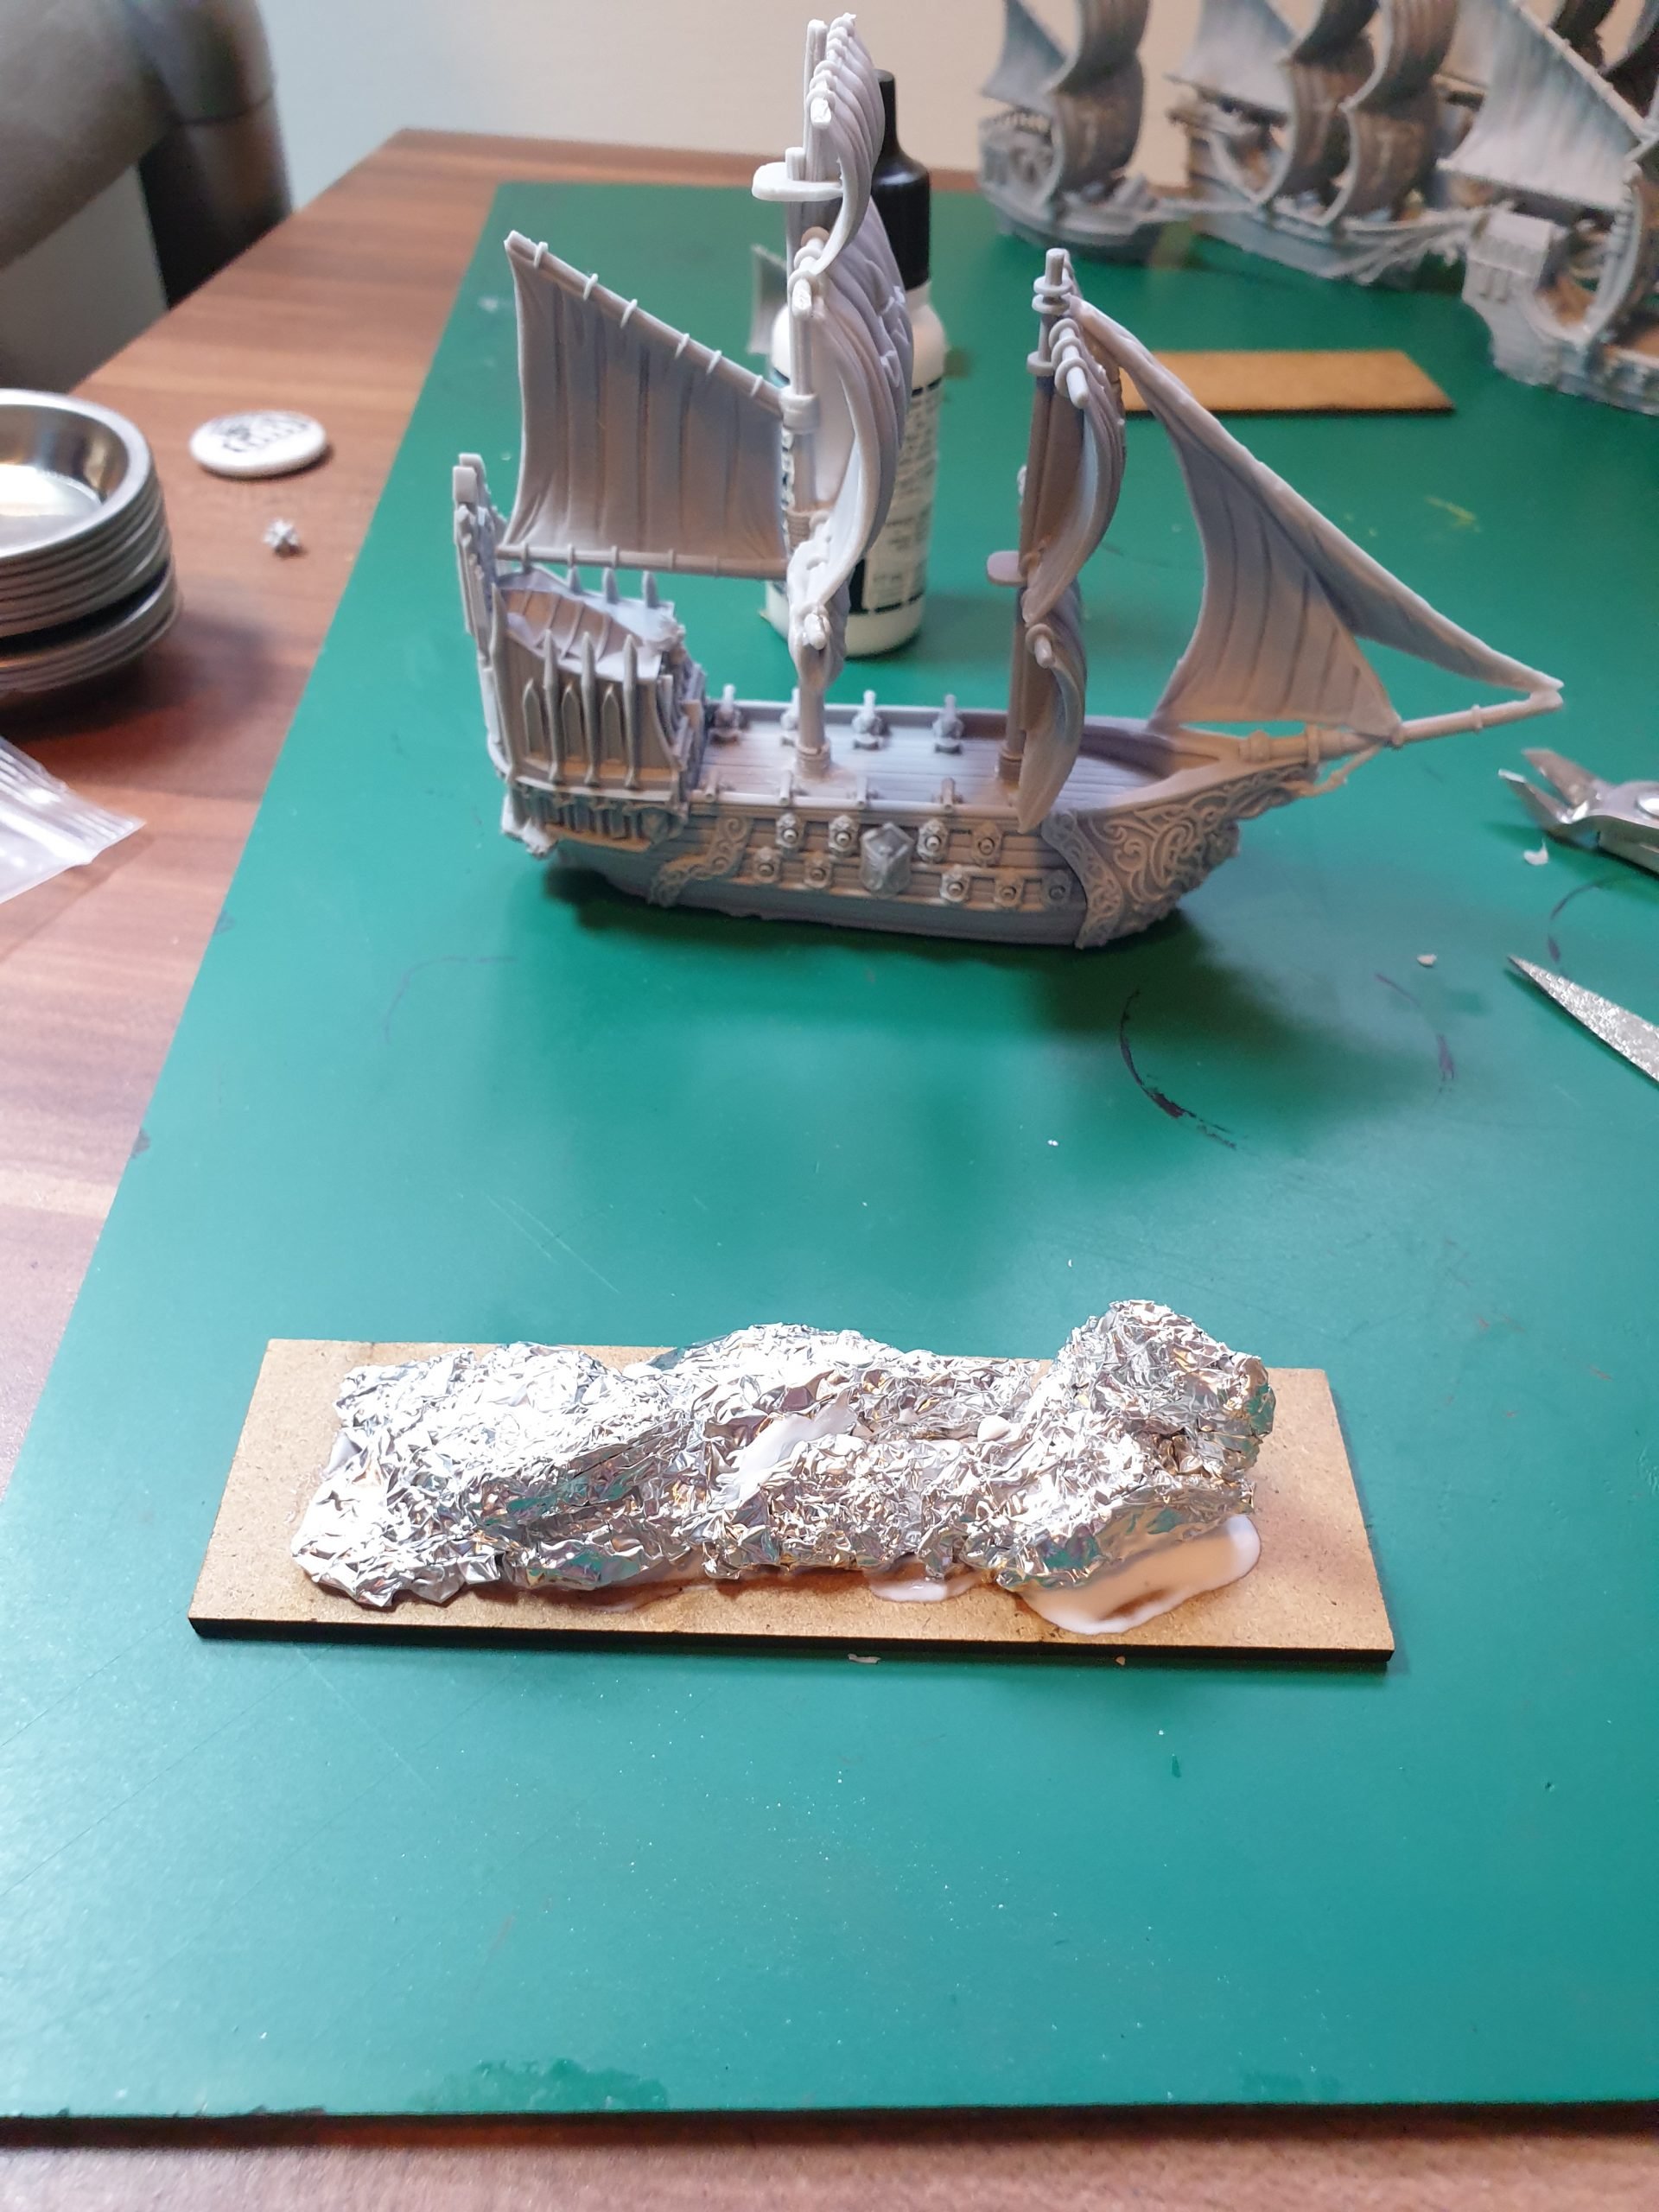
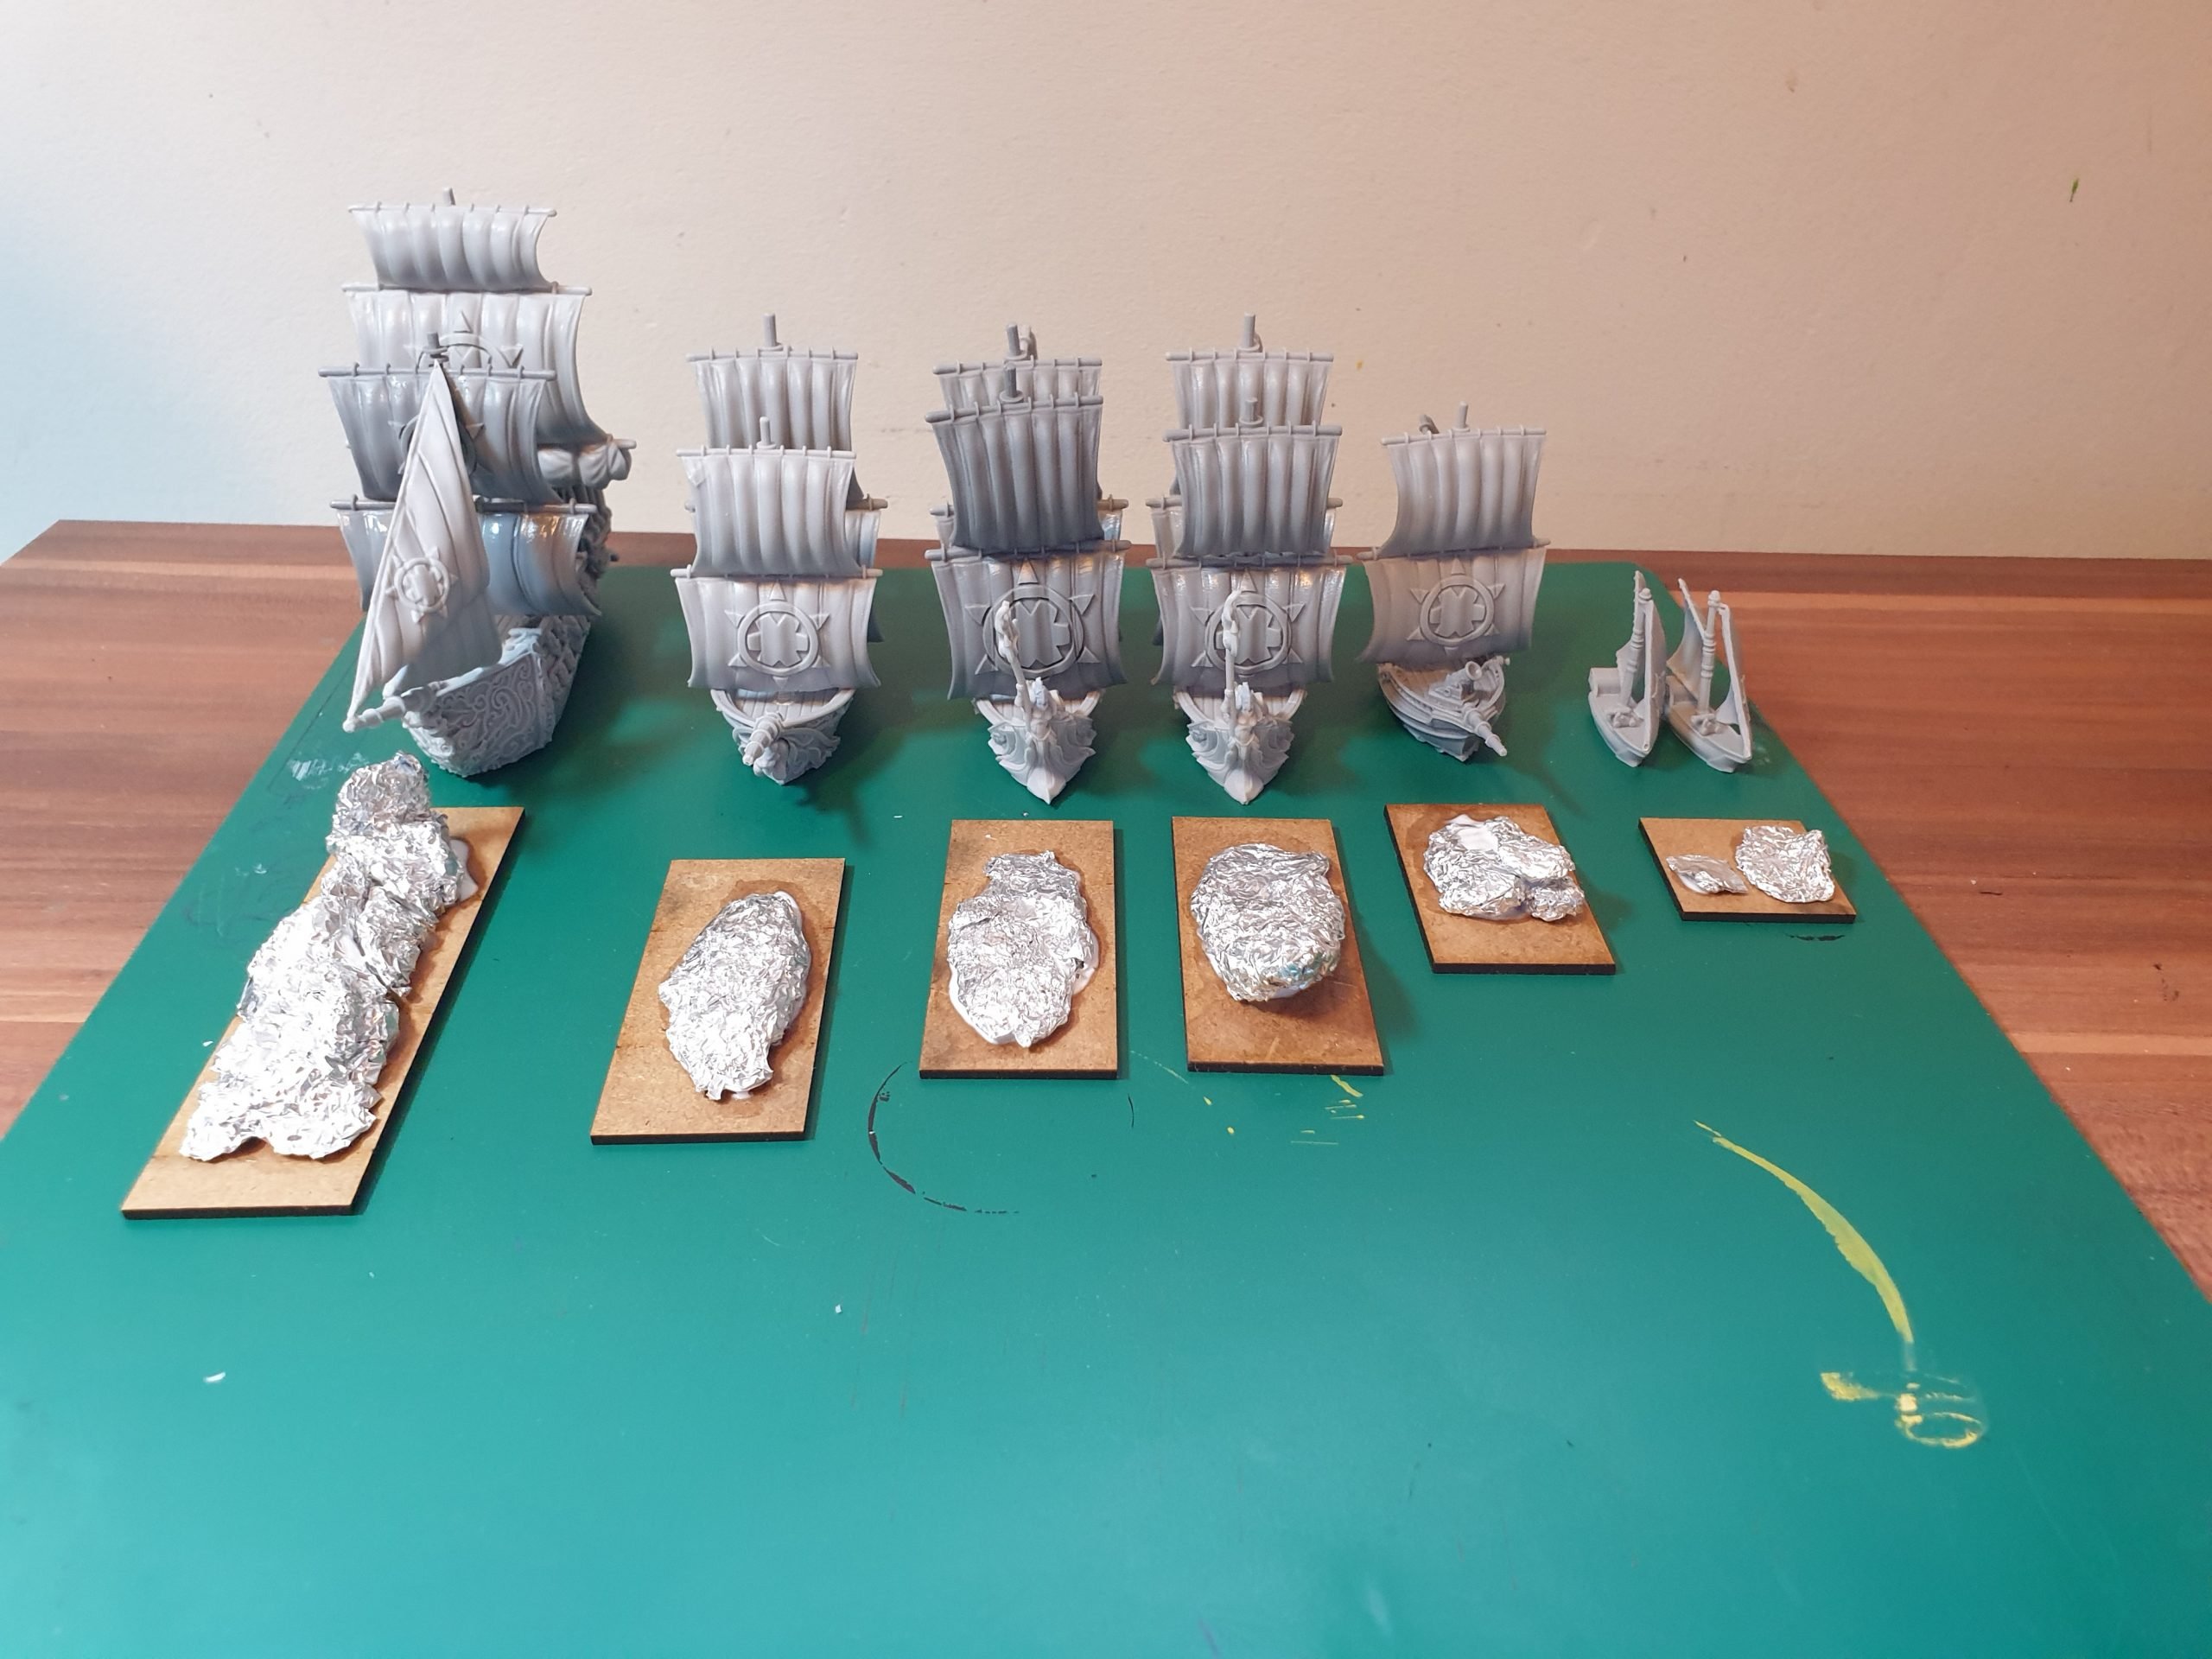
So to start with I used some regular kitchen foil to create the basic shape i wanted achieve on the base. Using the hull to check angles to make sure it would look like some of the ships were riding the waves and other crashing through. Once I achieved the right shape I glued it down using Luke's APS fast drying basing glue. I like this glue as it doesn't make the MDF base warp.
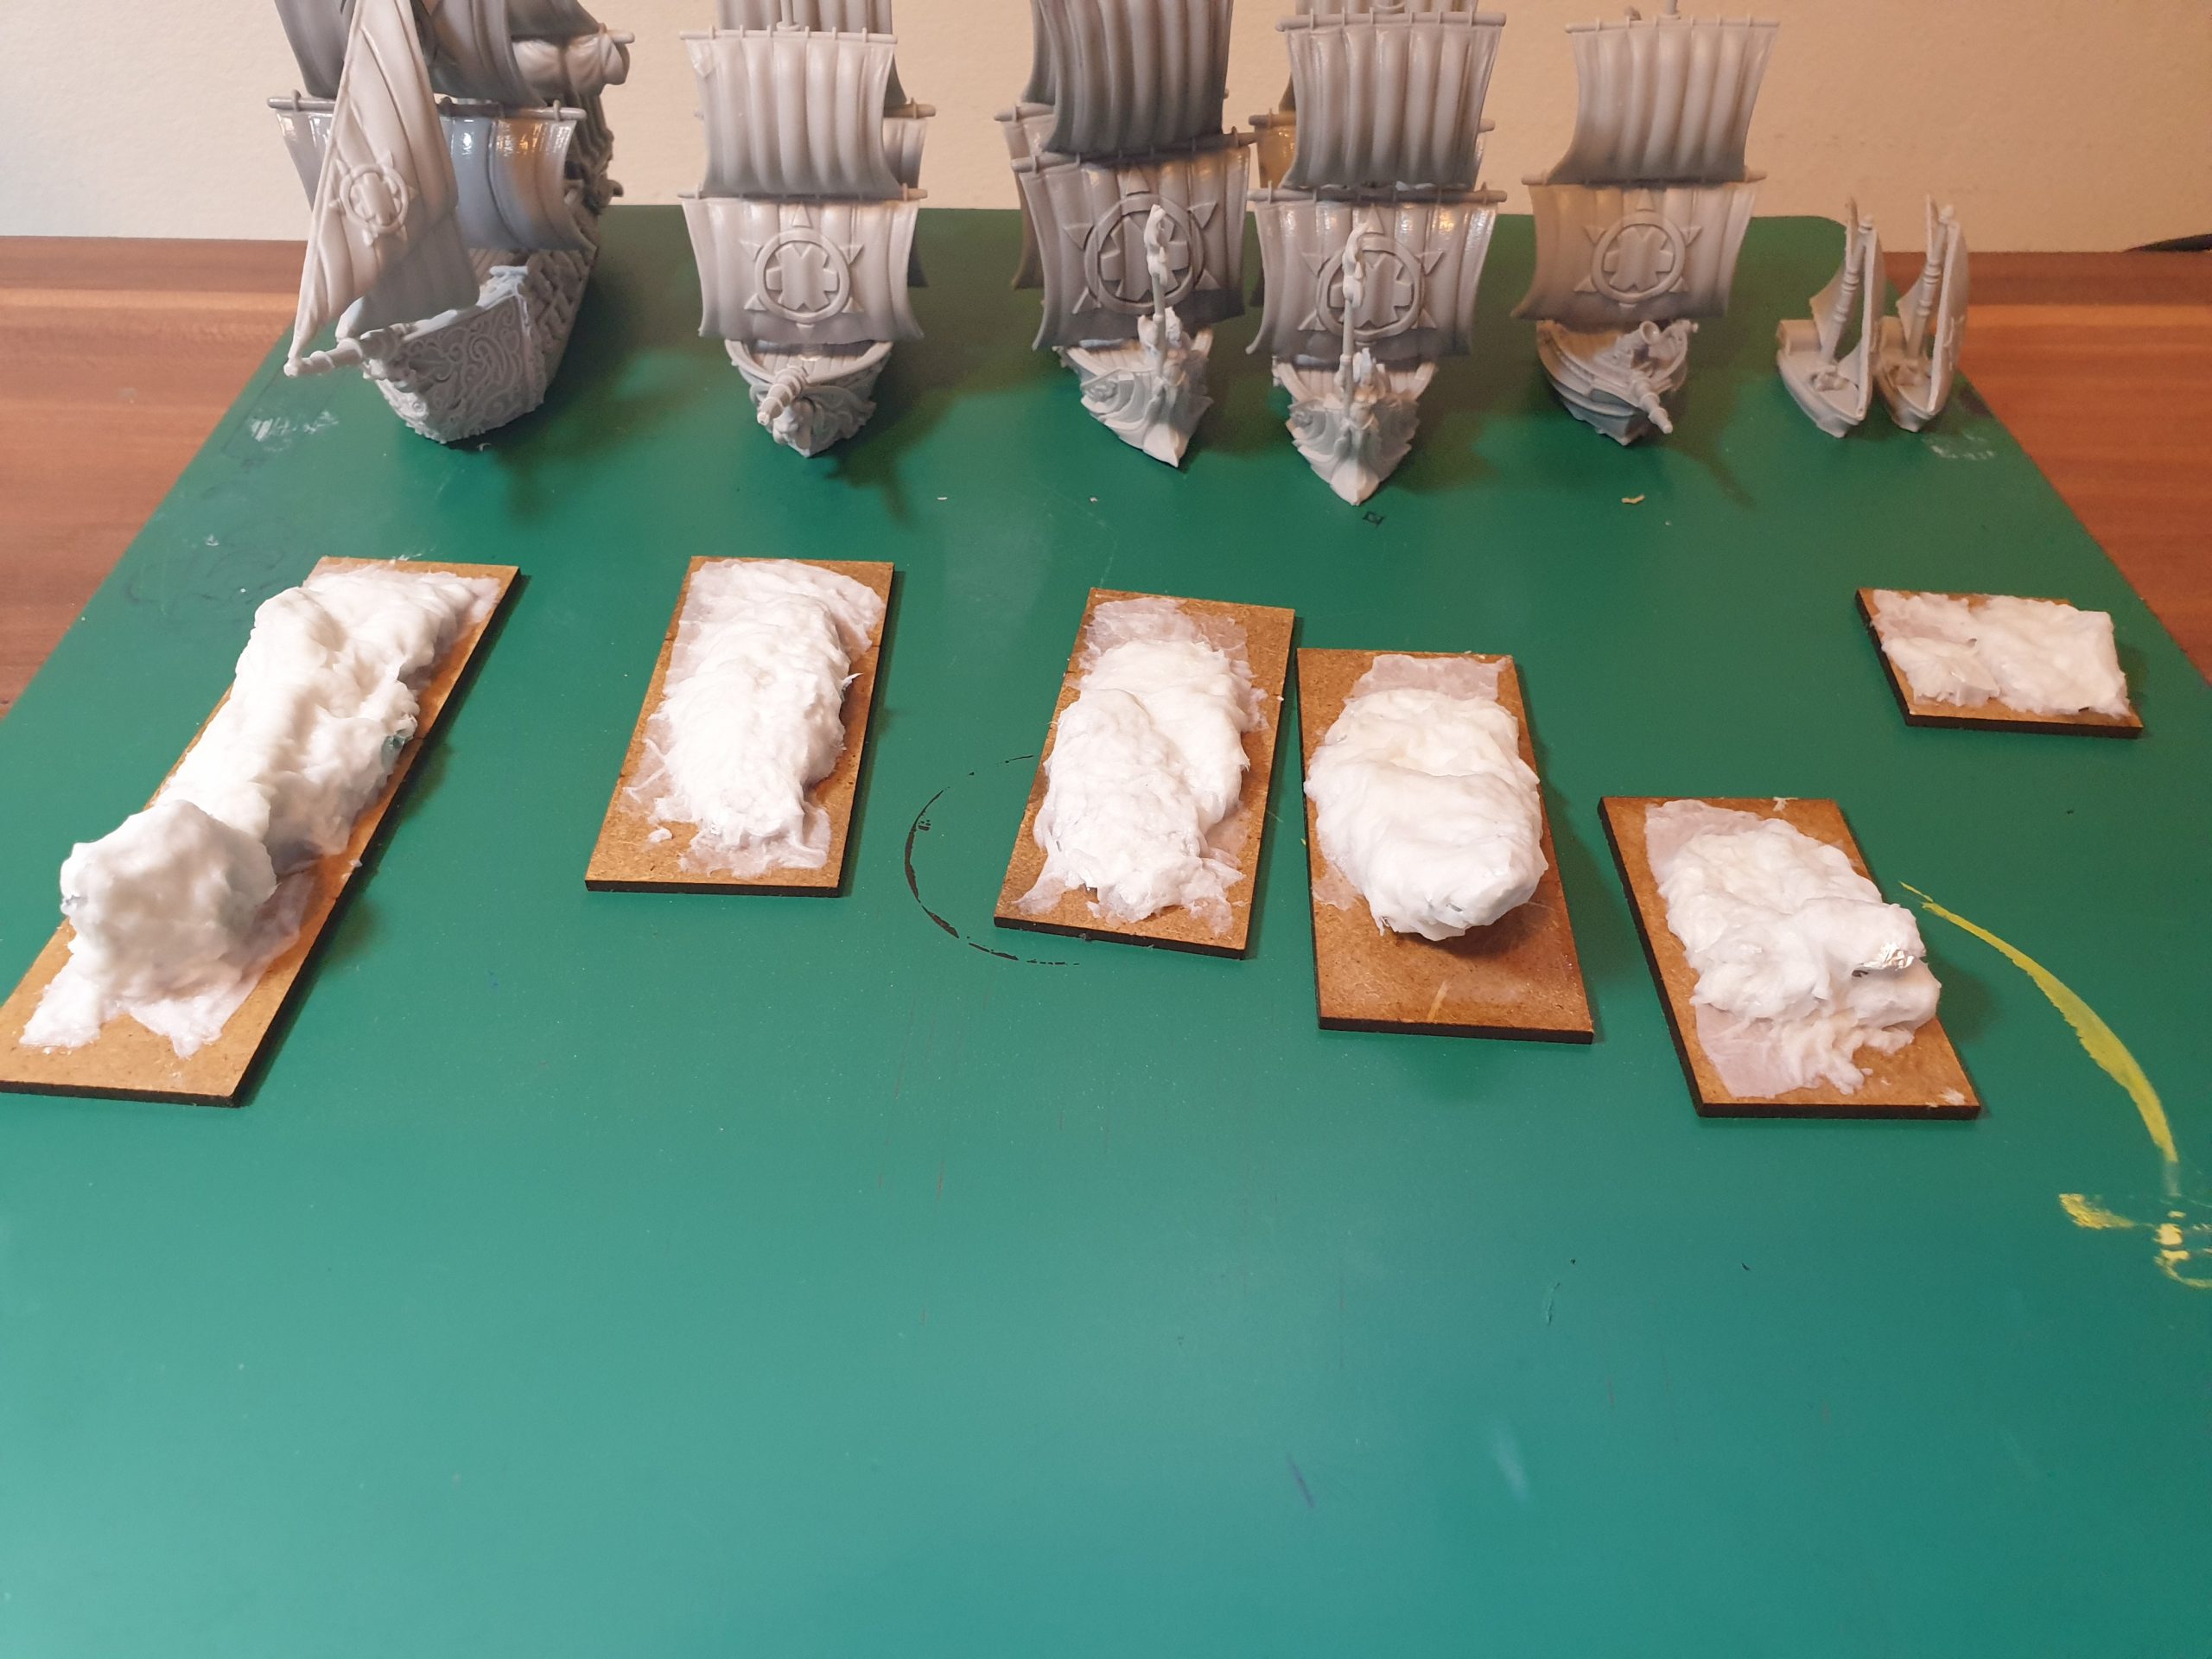
Next up I used tissue paper and watered down PVA glue to further sculpt the waves. This included filling any gaps in the foil and trying to achieve more of a natural water flowing effect. It can take a few layers as you are working one sheet of tissue paper at a time. So have a bit of patience with this, it will be worth it in the end. Use an old paint brush to move the wet paper around to created wave like bumps.
Now the next bit is upto you. I proceeded to glue my fully built ships to the bases using gorilla glue (blue lid). But you may want to paint bases and ships separately. You may want to use some more PVA paper to create the illusion that the ship is in the water. You can do this by creating waves flowing up the side of the model. Once all the glue was try and everything was solid, I primed the miniatures in grey primer. I use Hycote Grey Primer from The Range.
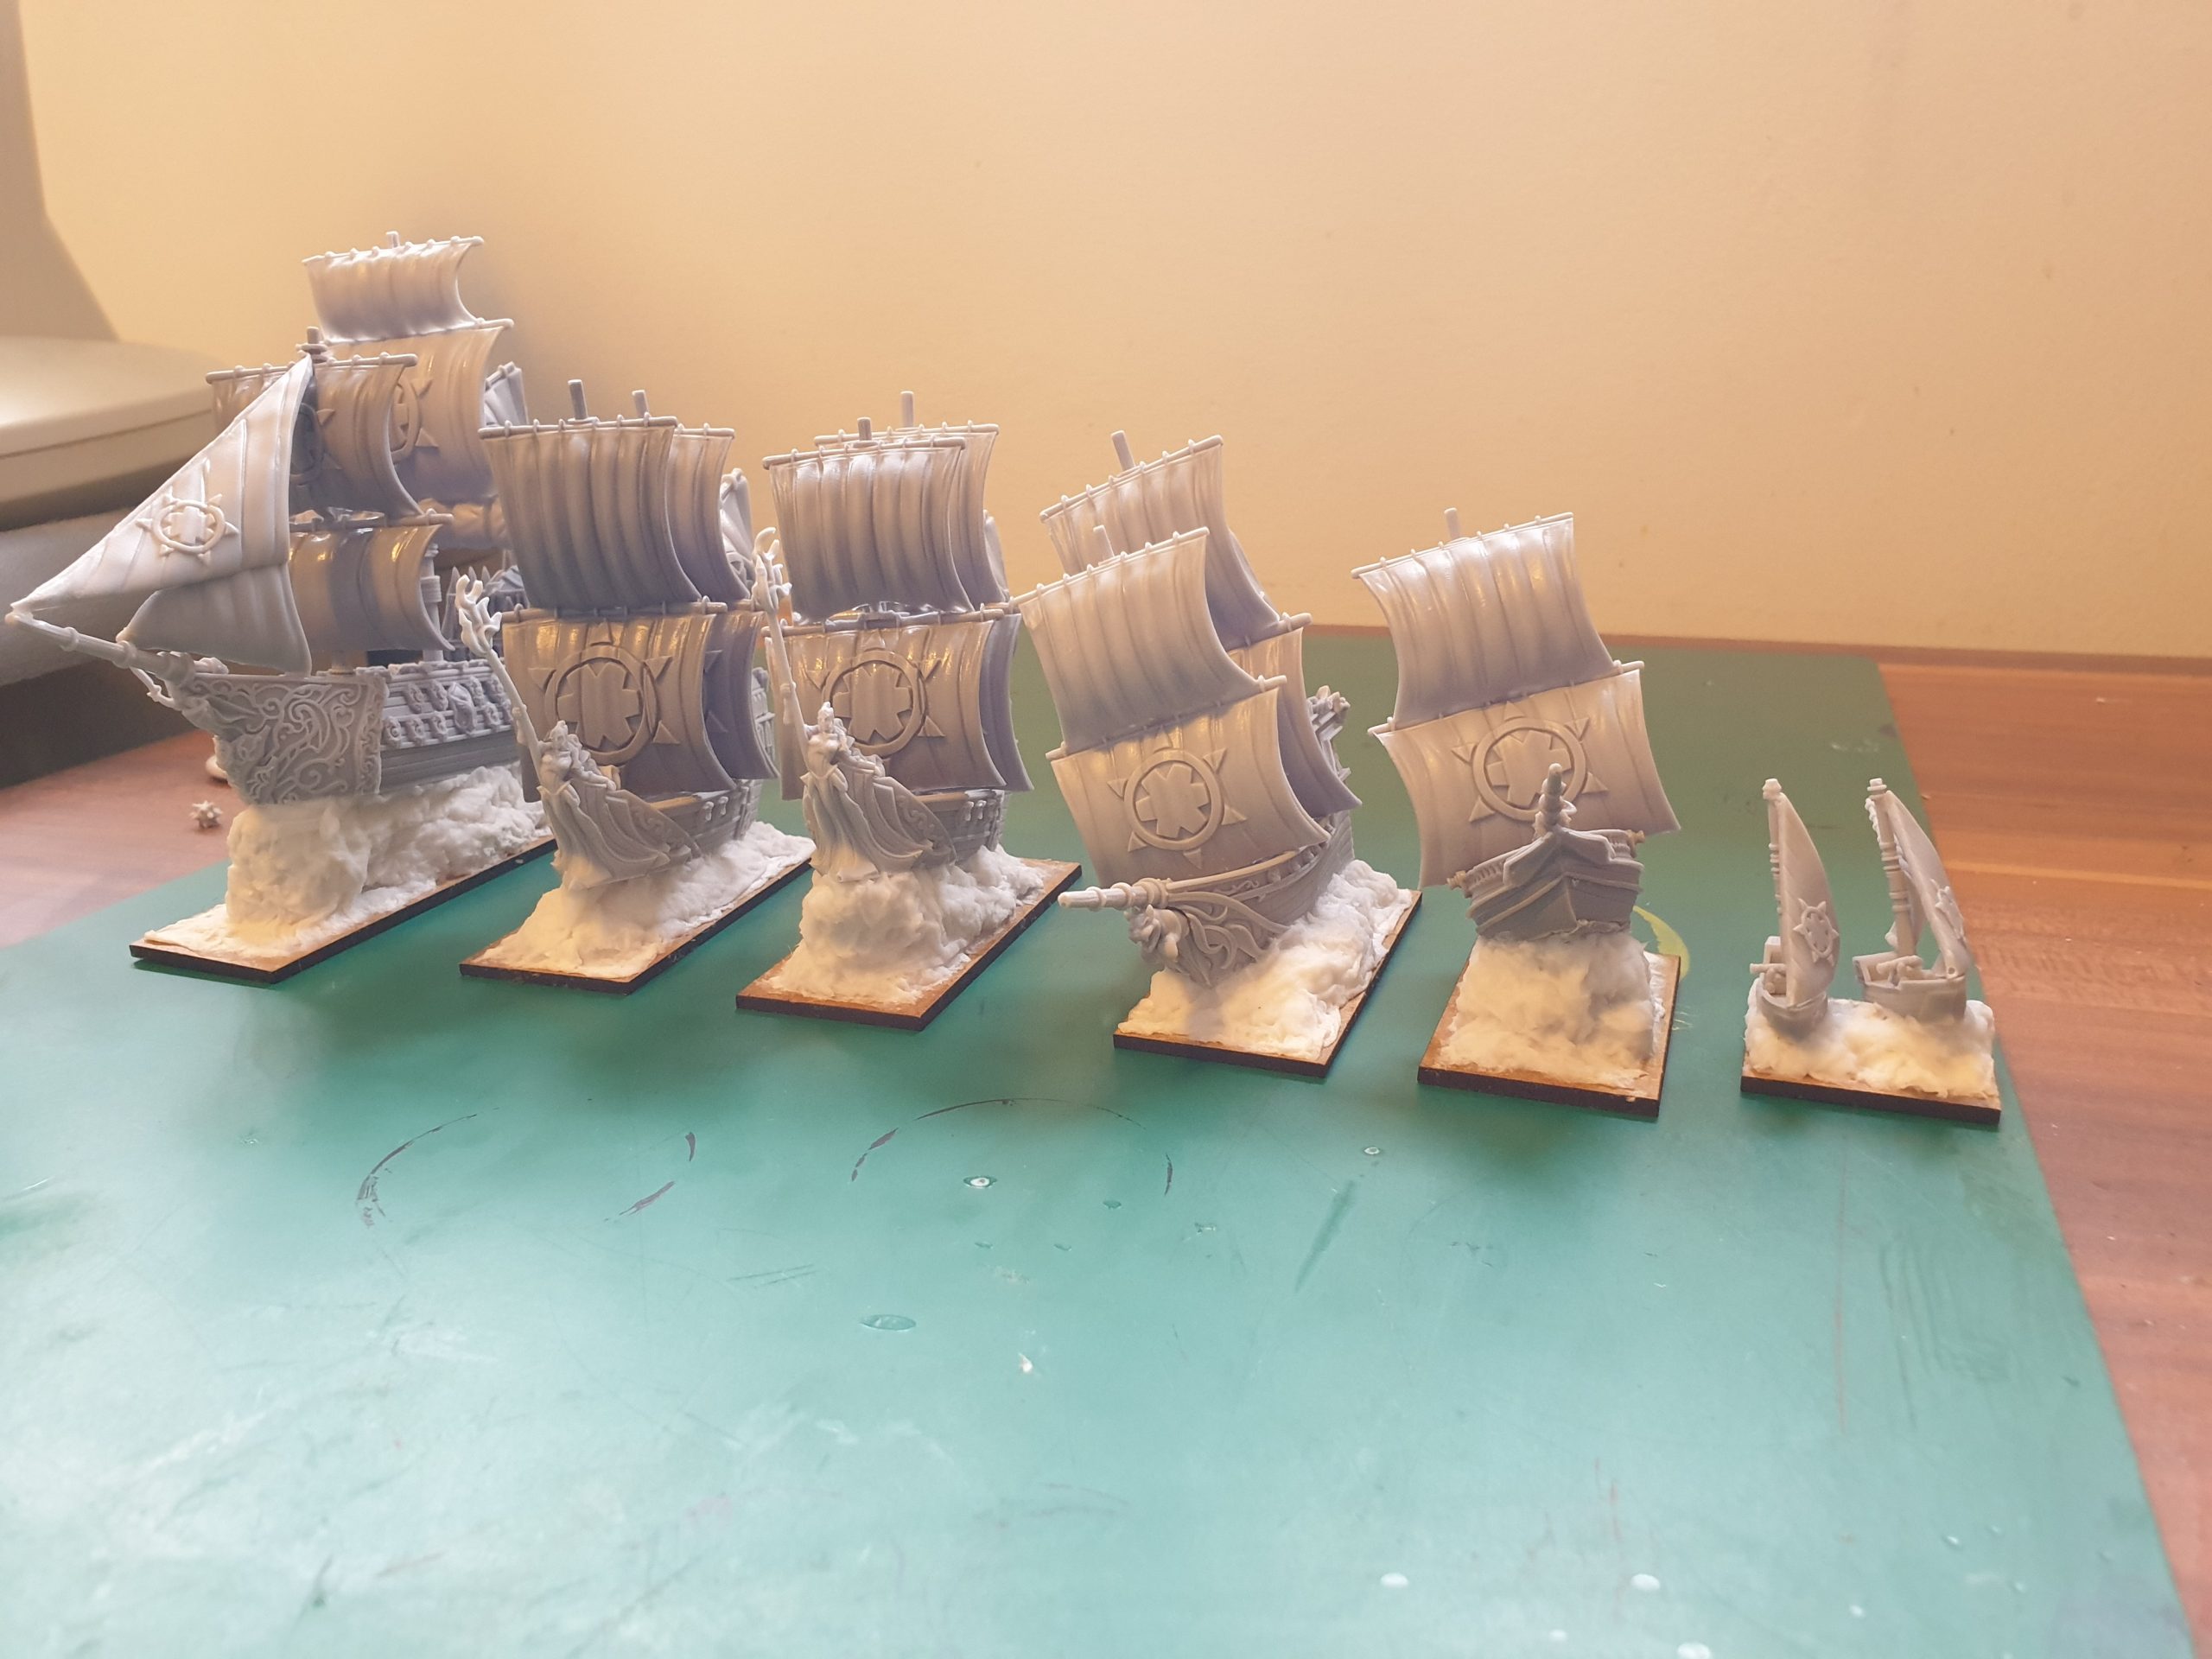
I fully painted my ships before I completed the water effects - I wont go into that part as this is a different tutorial...
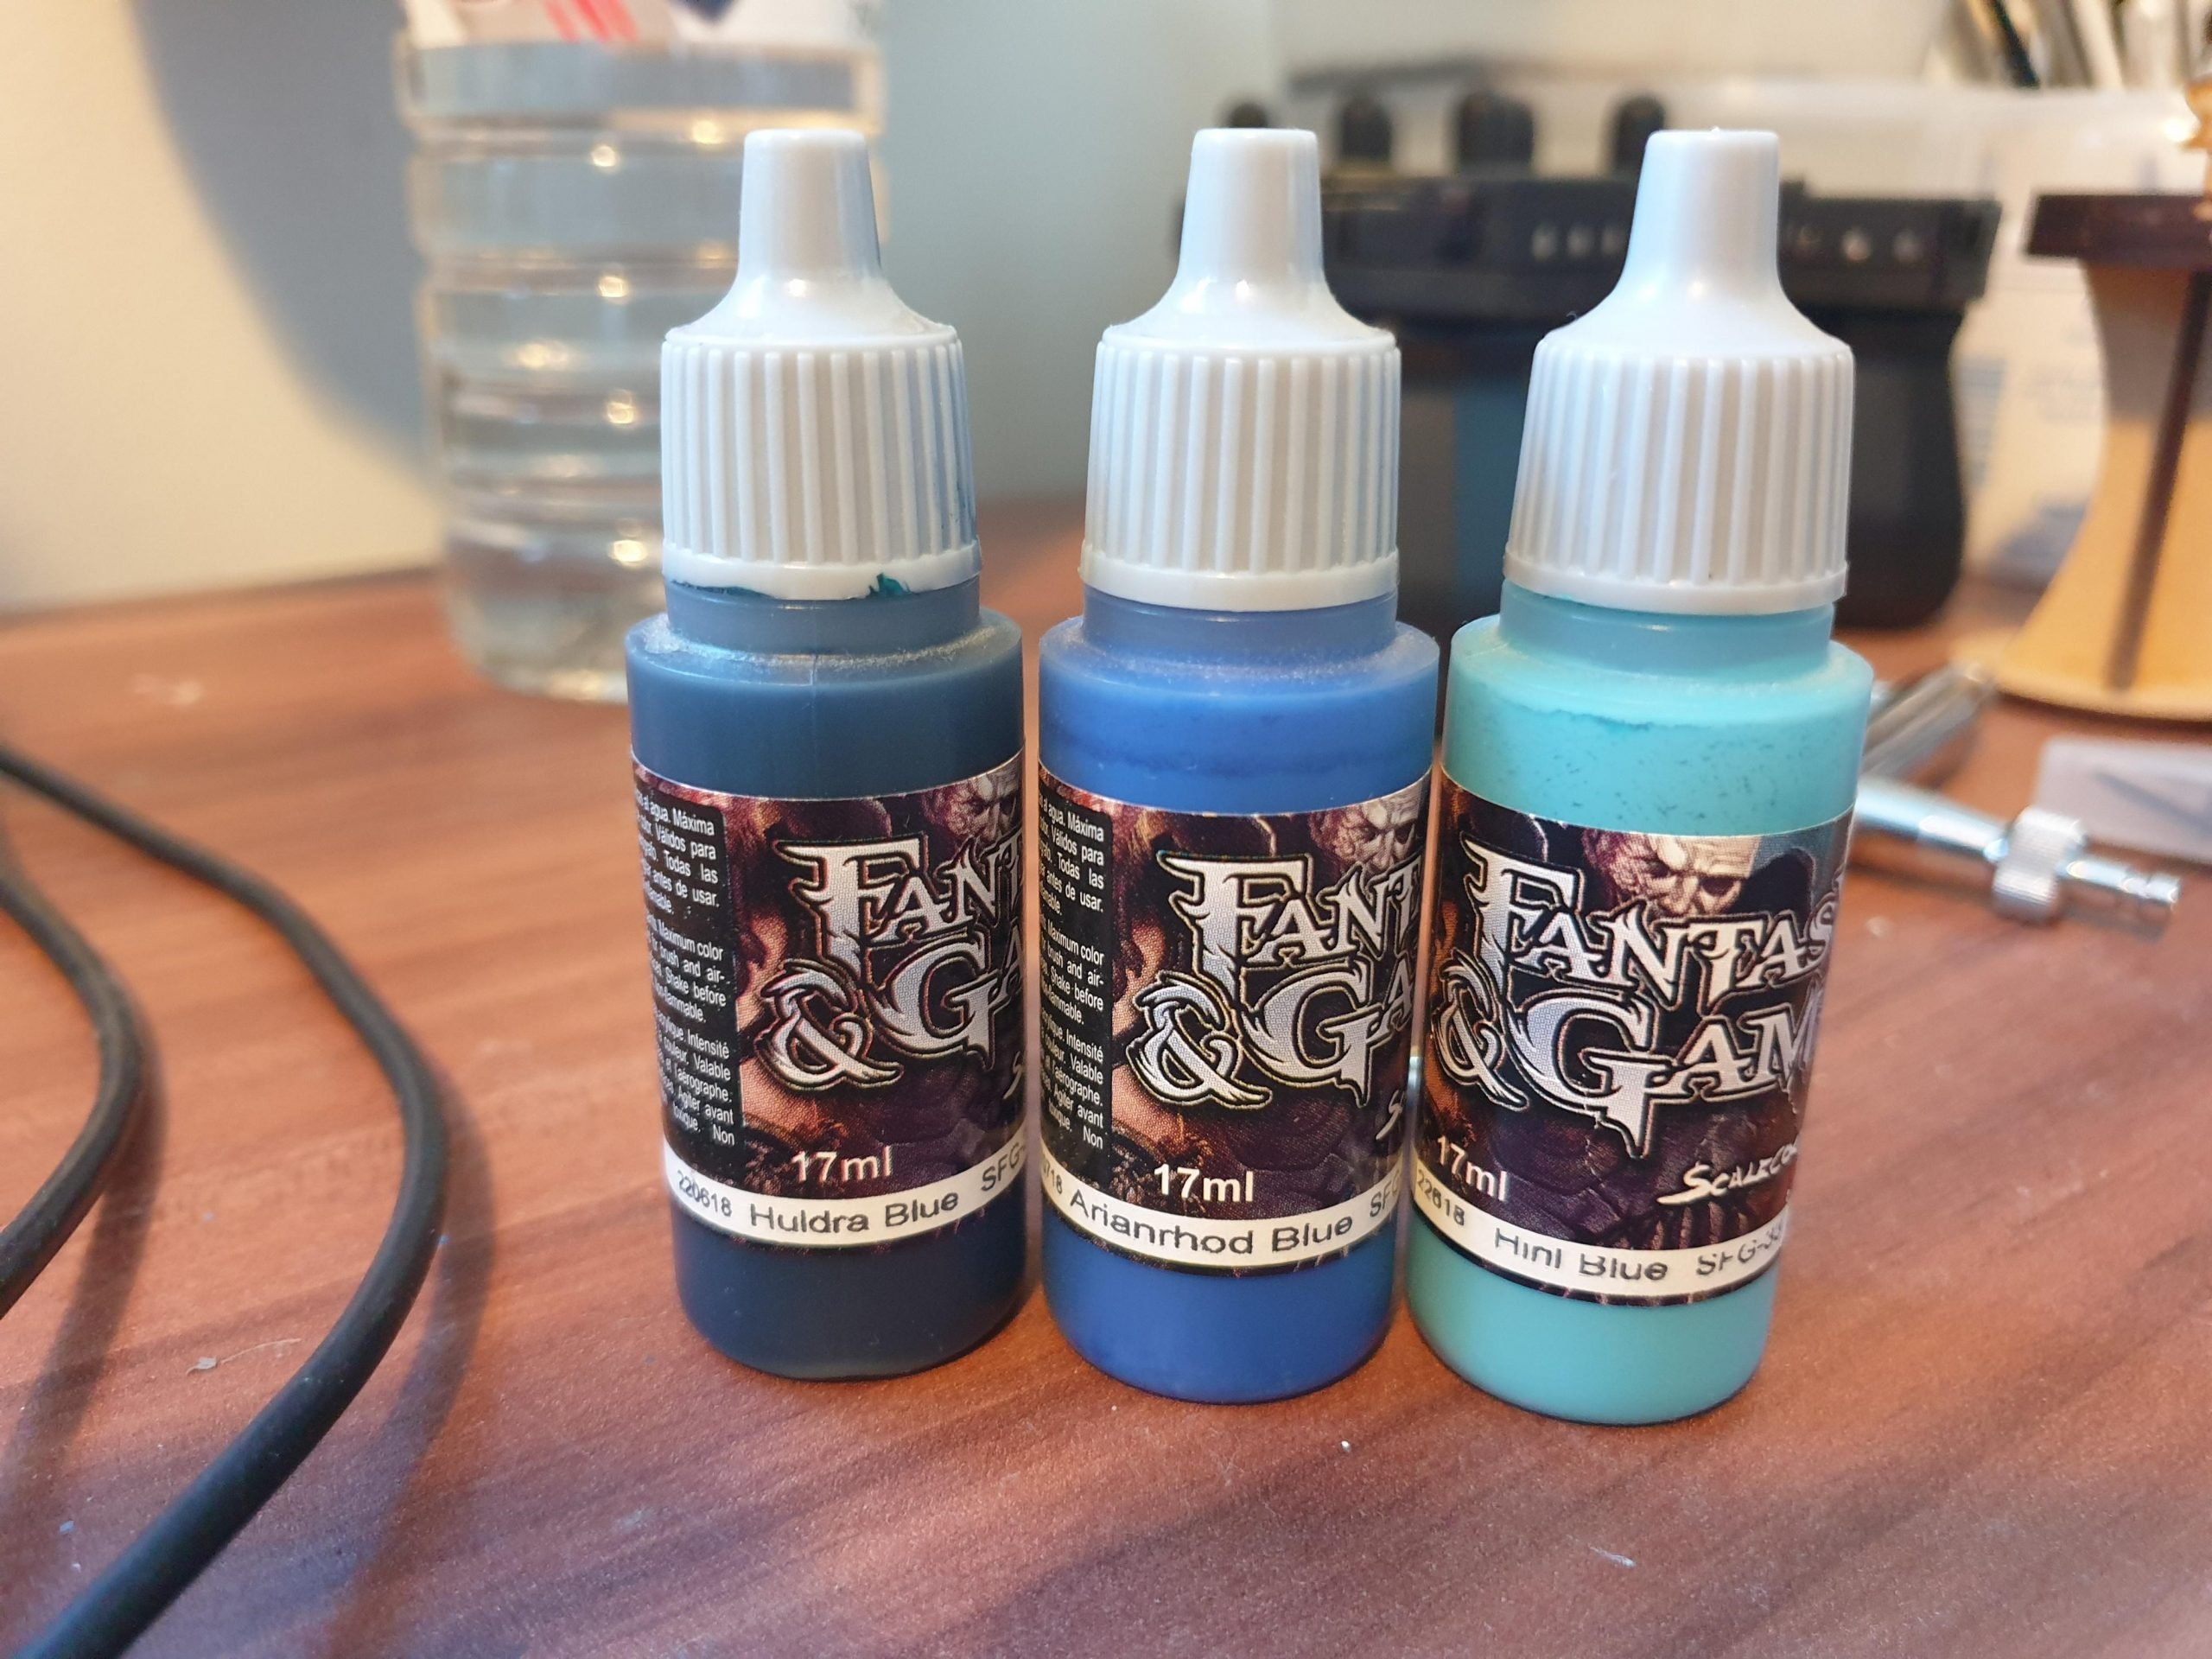
I painted the base with a dark blue (Huldra Blue from Scalecolor) and dry brushed with Arianrhod Blue and finally with Hindi Blue. Where the tentacles are breaking out the water I used P3 Necrotite Green to create a spooky glow under the water.
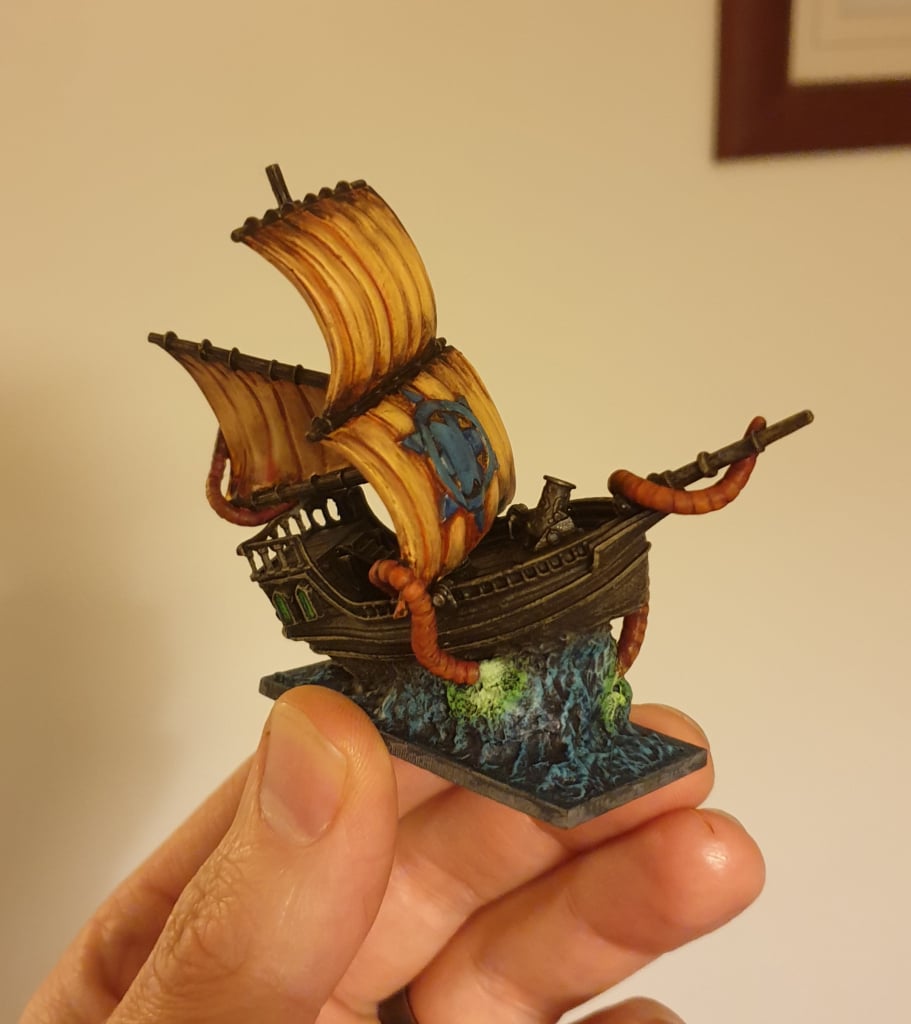
Now for the fun stuff! The main part of how I did the water was using a product called Vallejo Water Texture. From the pot this is a white gel substance that cures completely transparent.
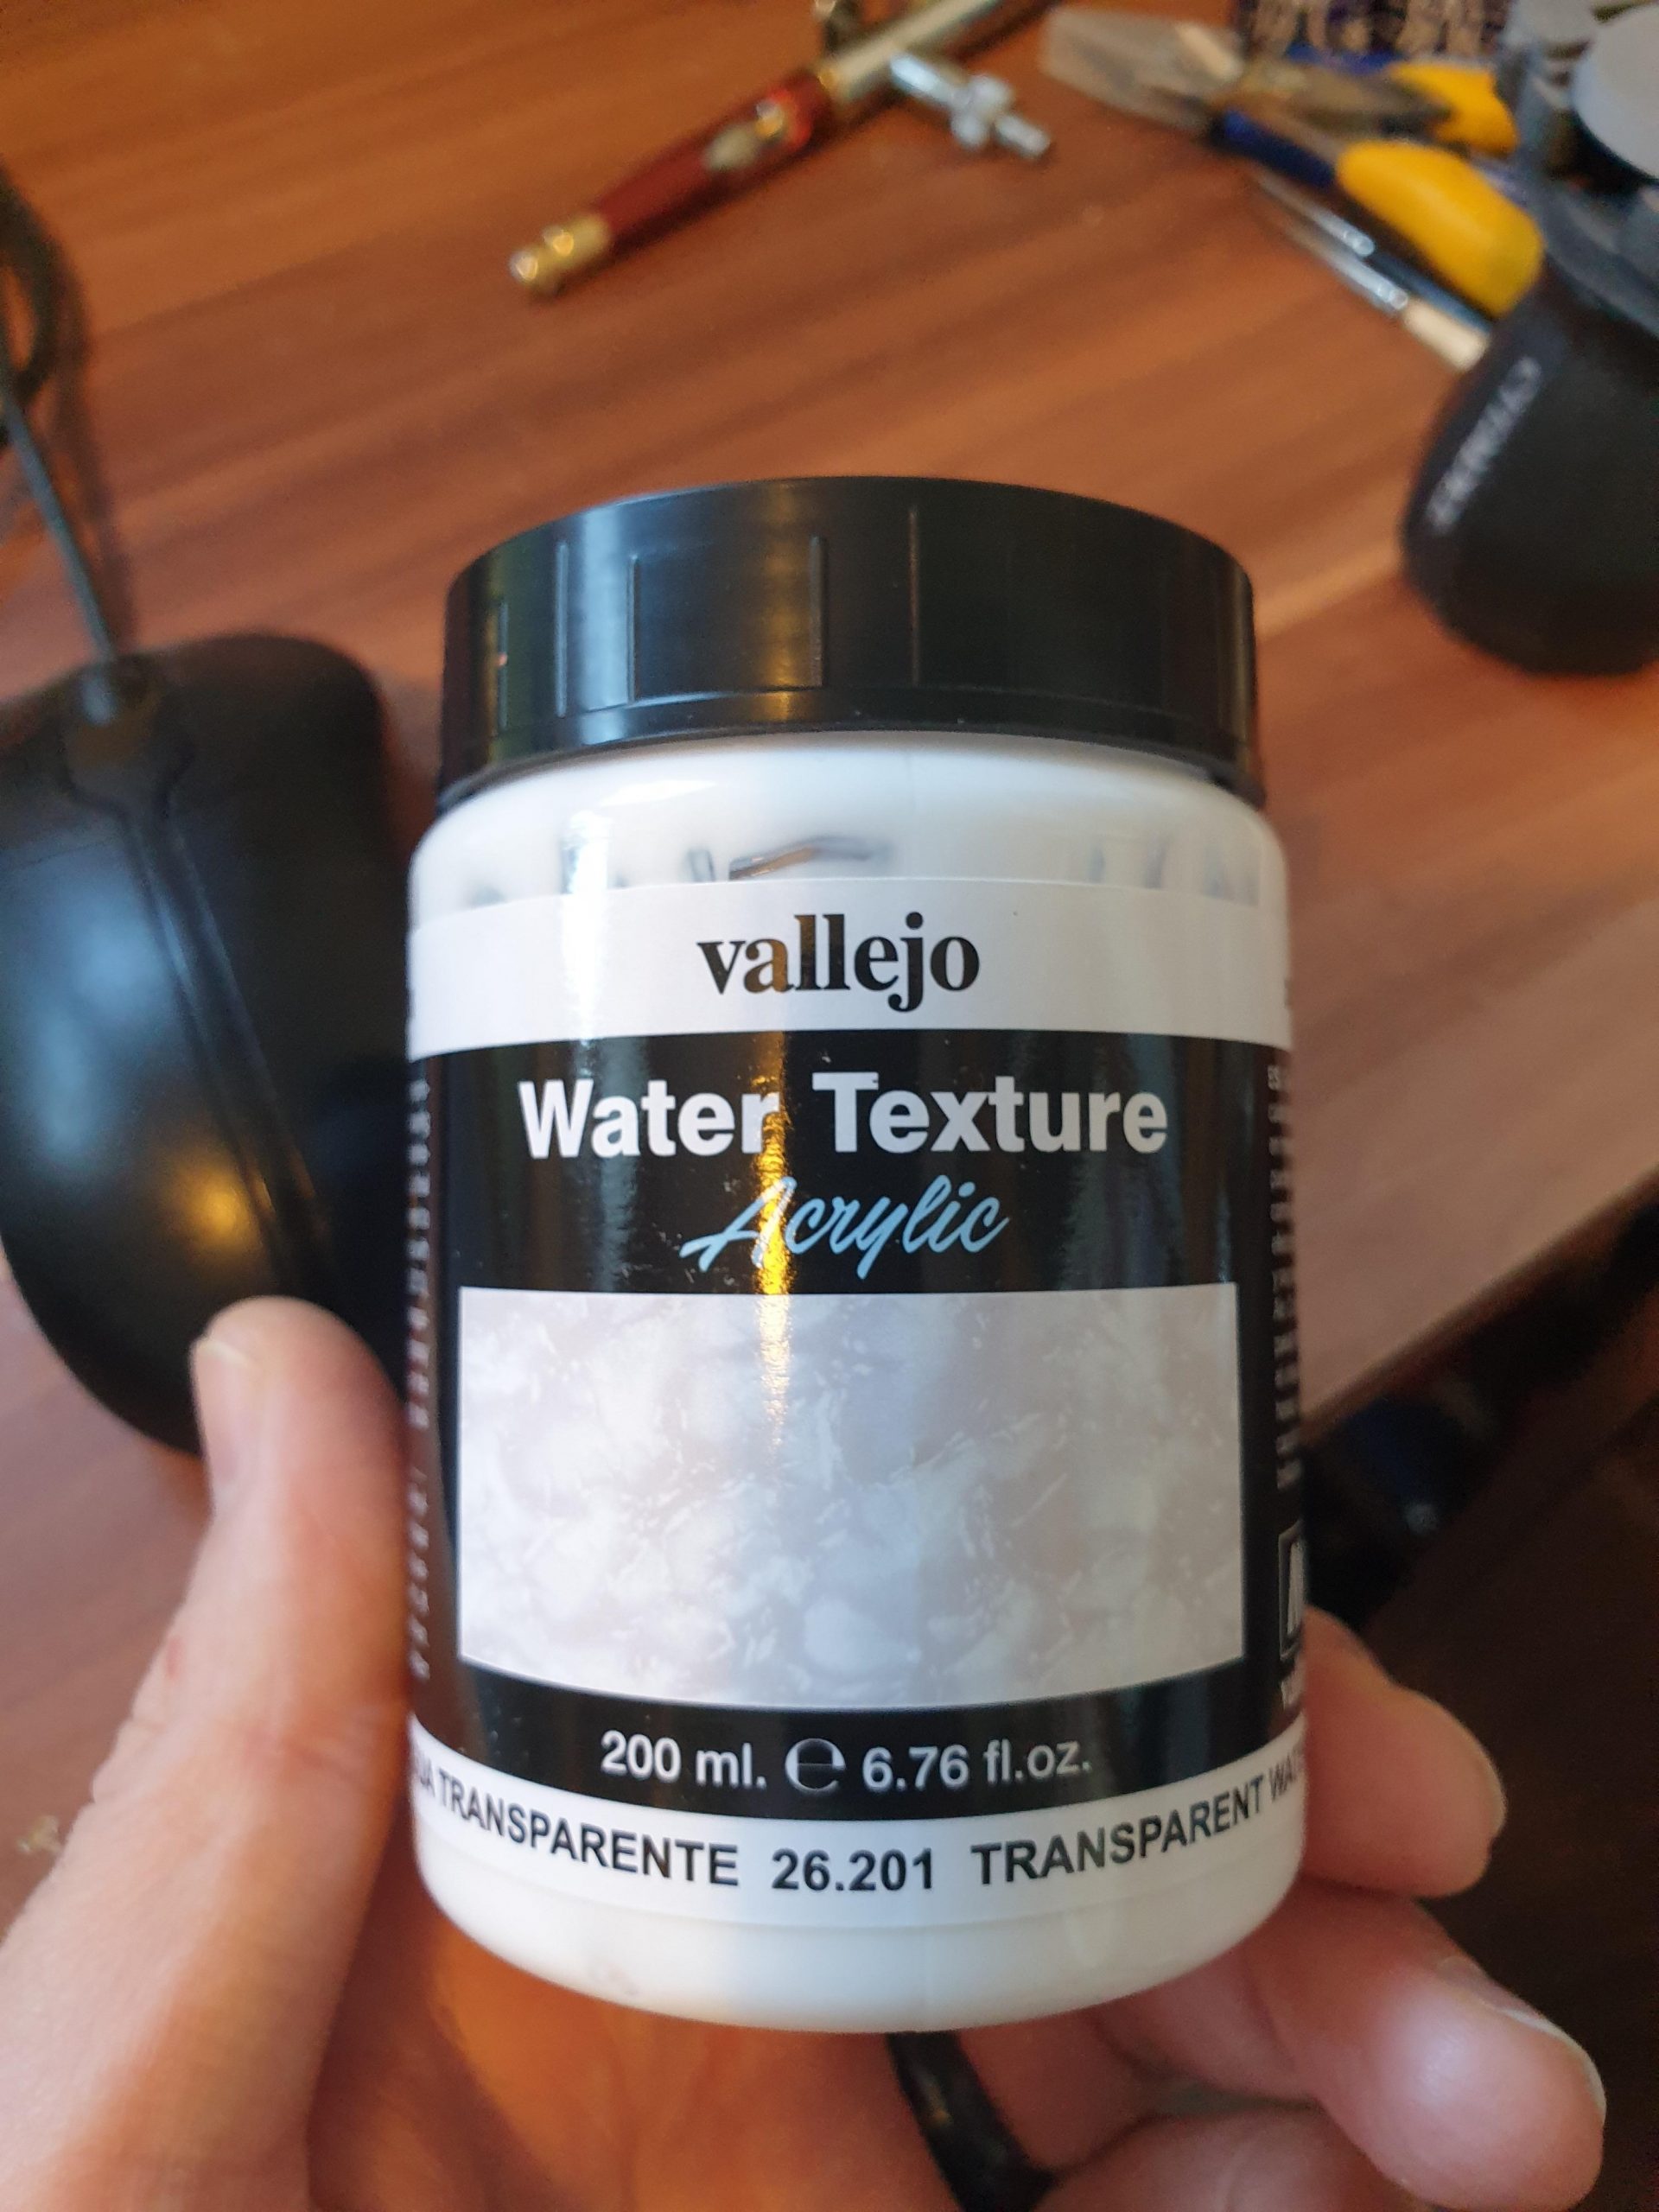
Using an old paint brush and a coffee stirrer I applied the first layer of the gel to the ship bases. I advise you to not to put it on too thick all in one go as it may struggle to cure. So do this bit over 2 sessions. It does take a day to cure, so its not a speedy process.
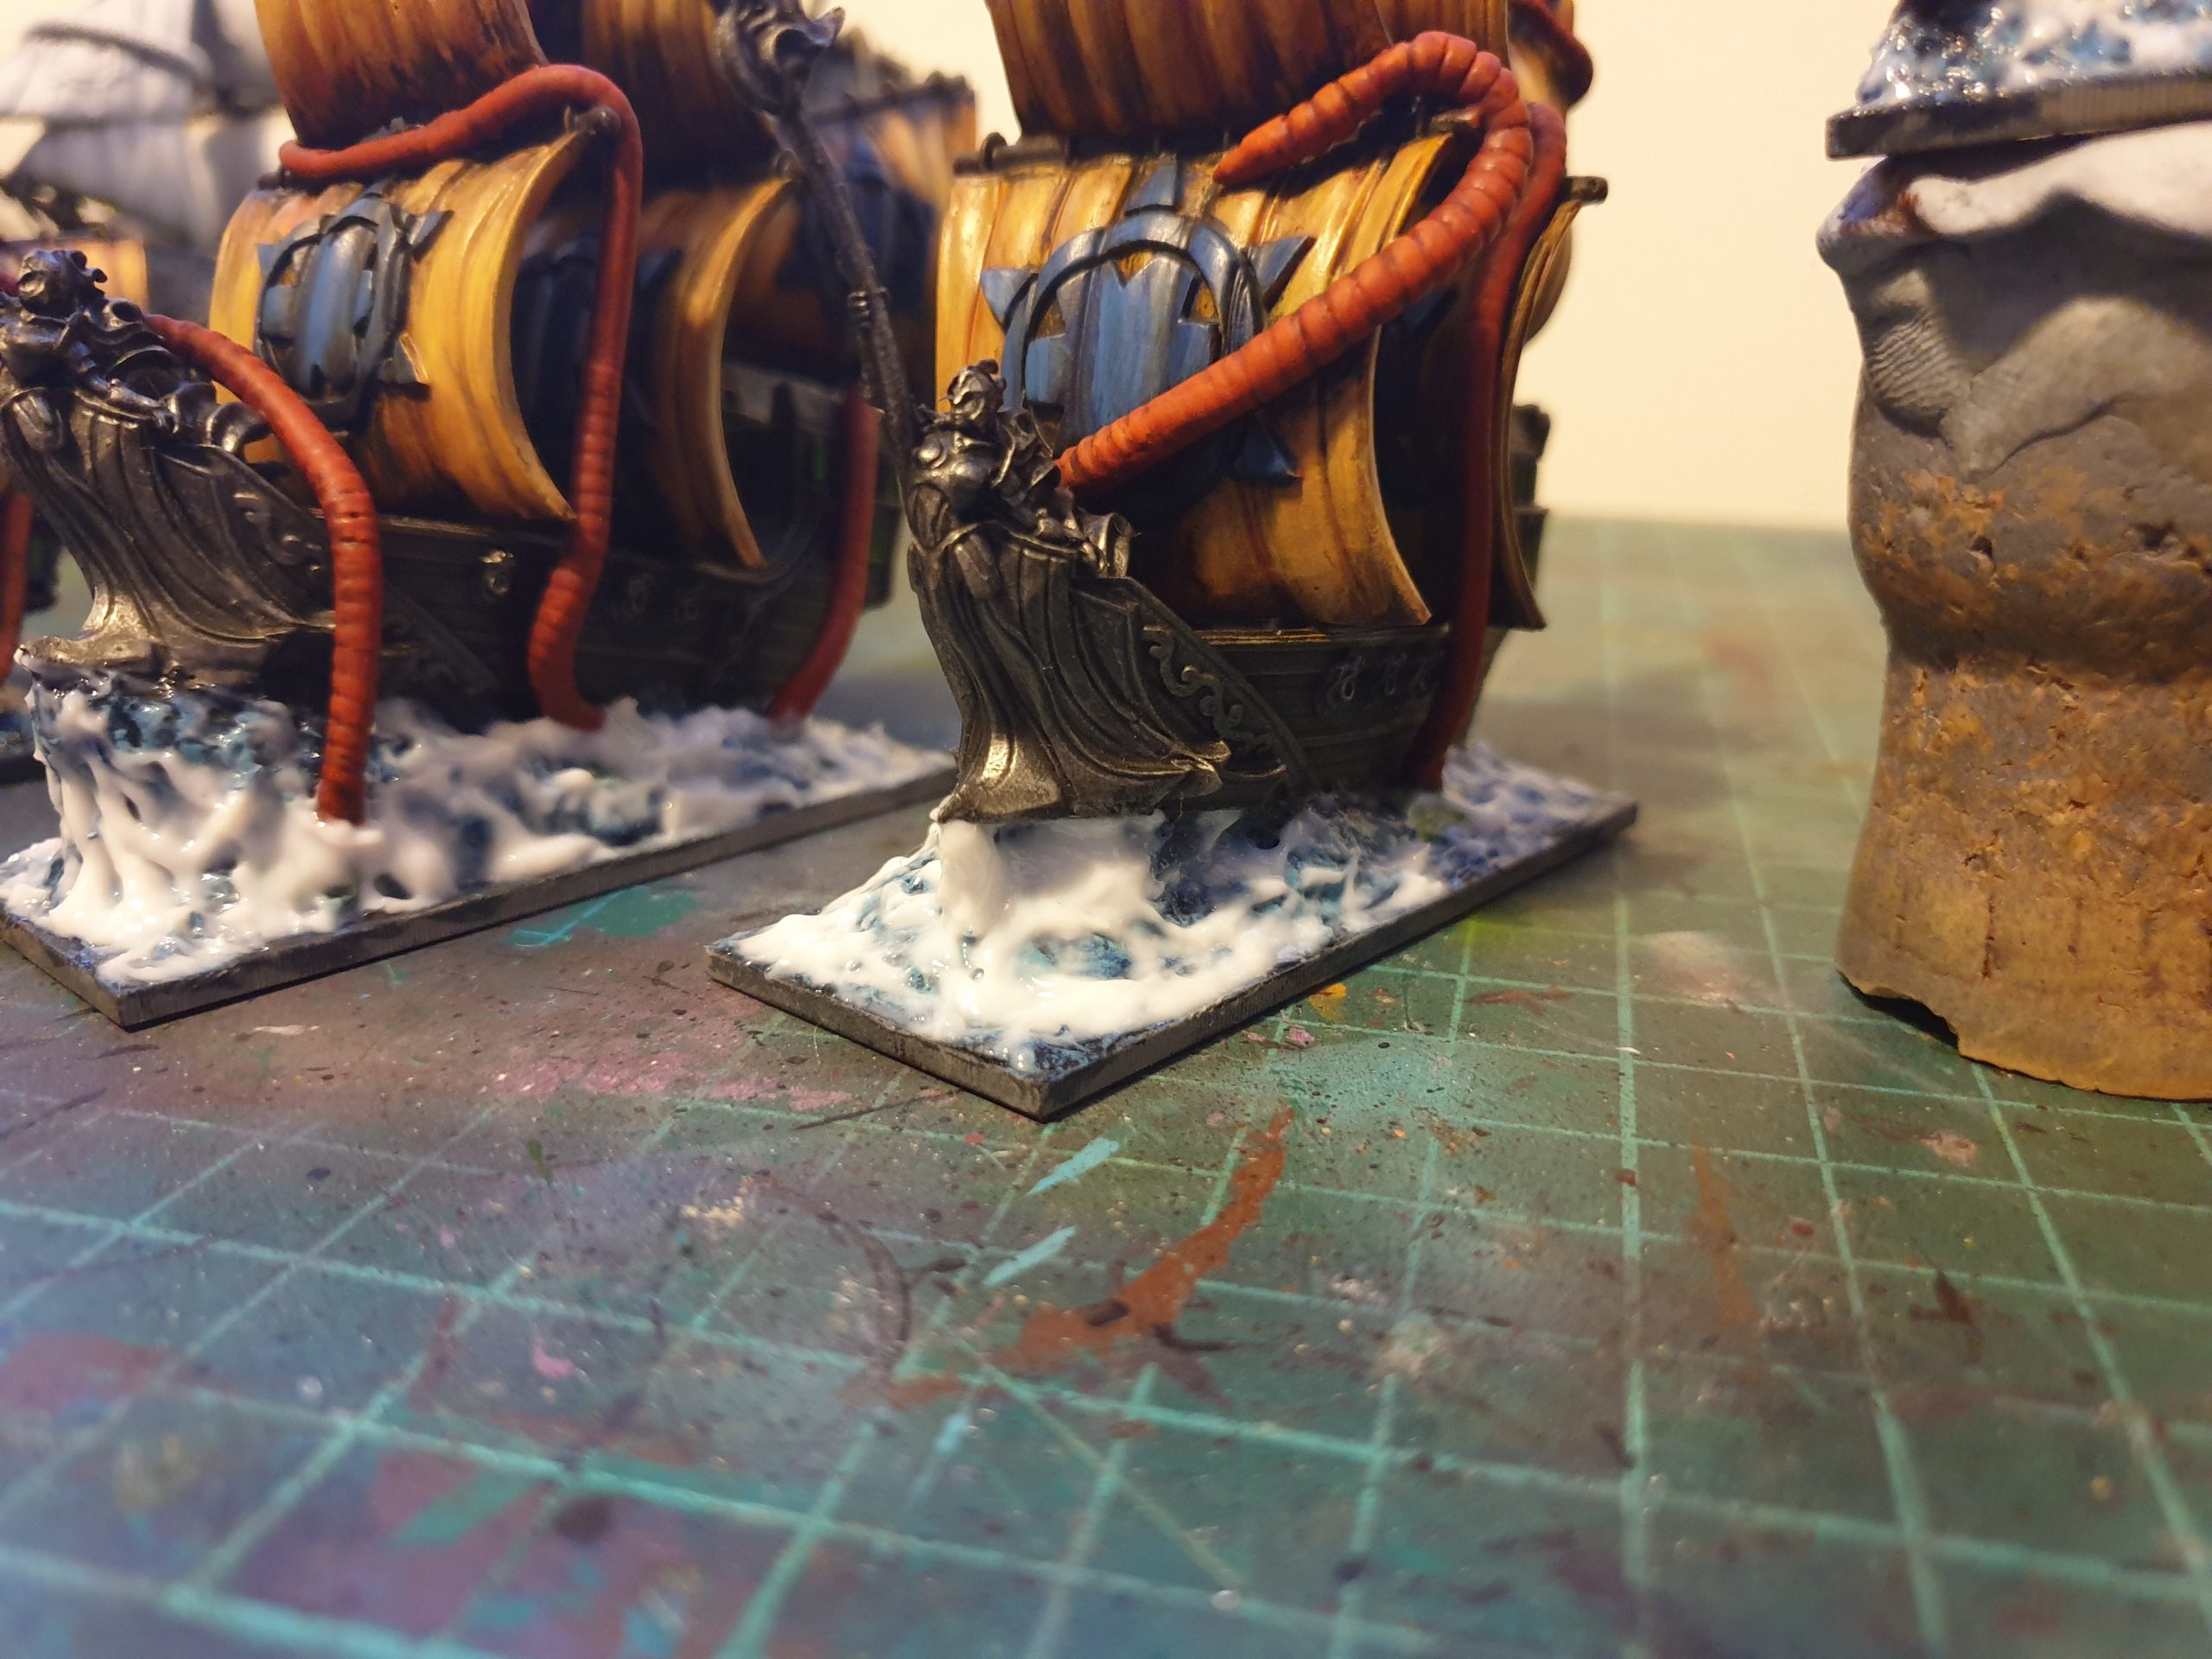
The second layer will allow you to create the shapes you want to create around the ship. Be that breaking water across the bow or (as I did) a wave almost tipping one of the ships over, so that one had lots of waves along the port side.
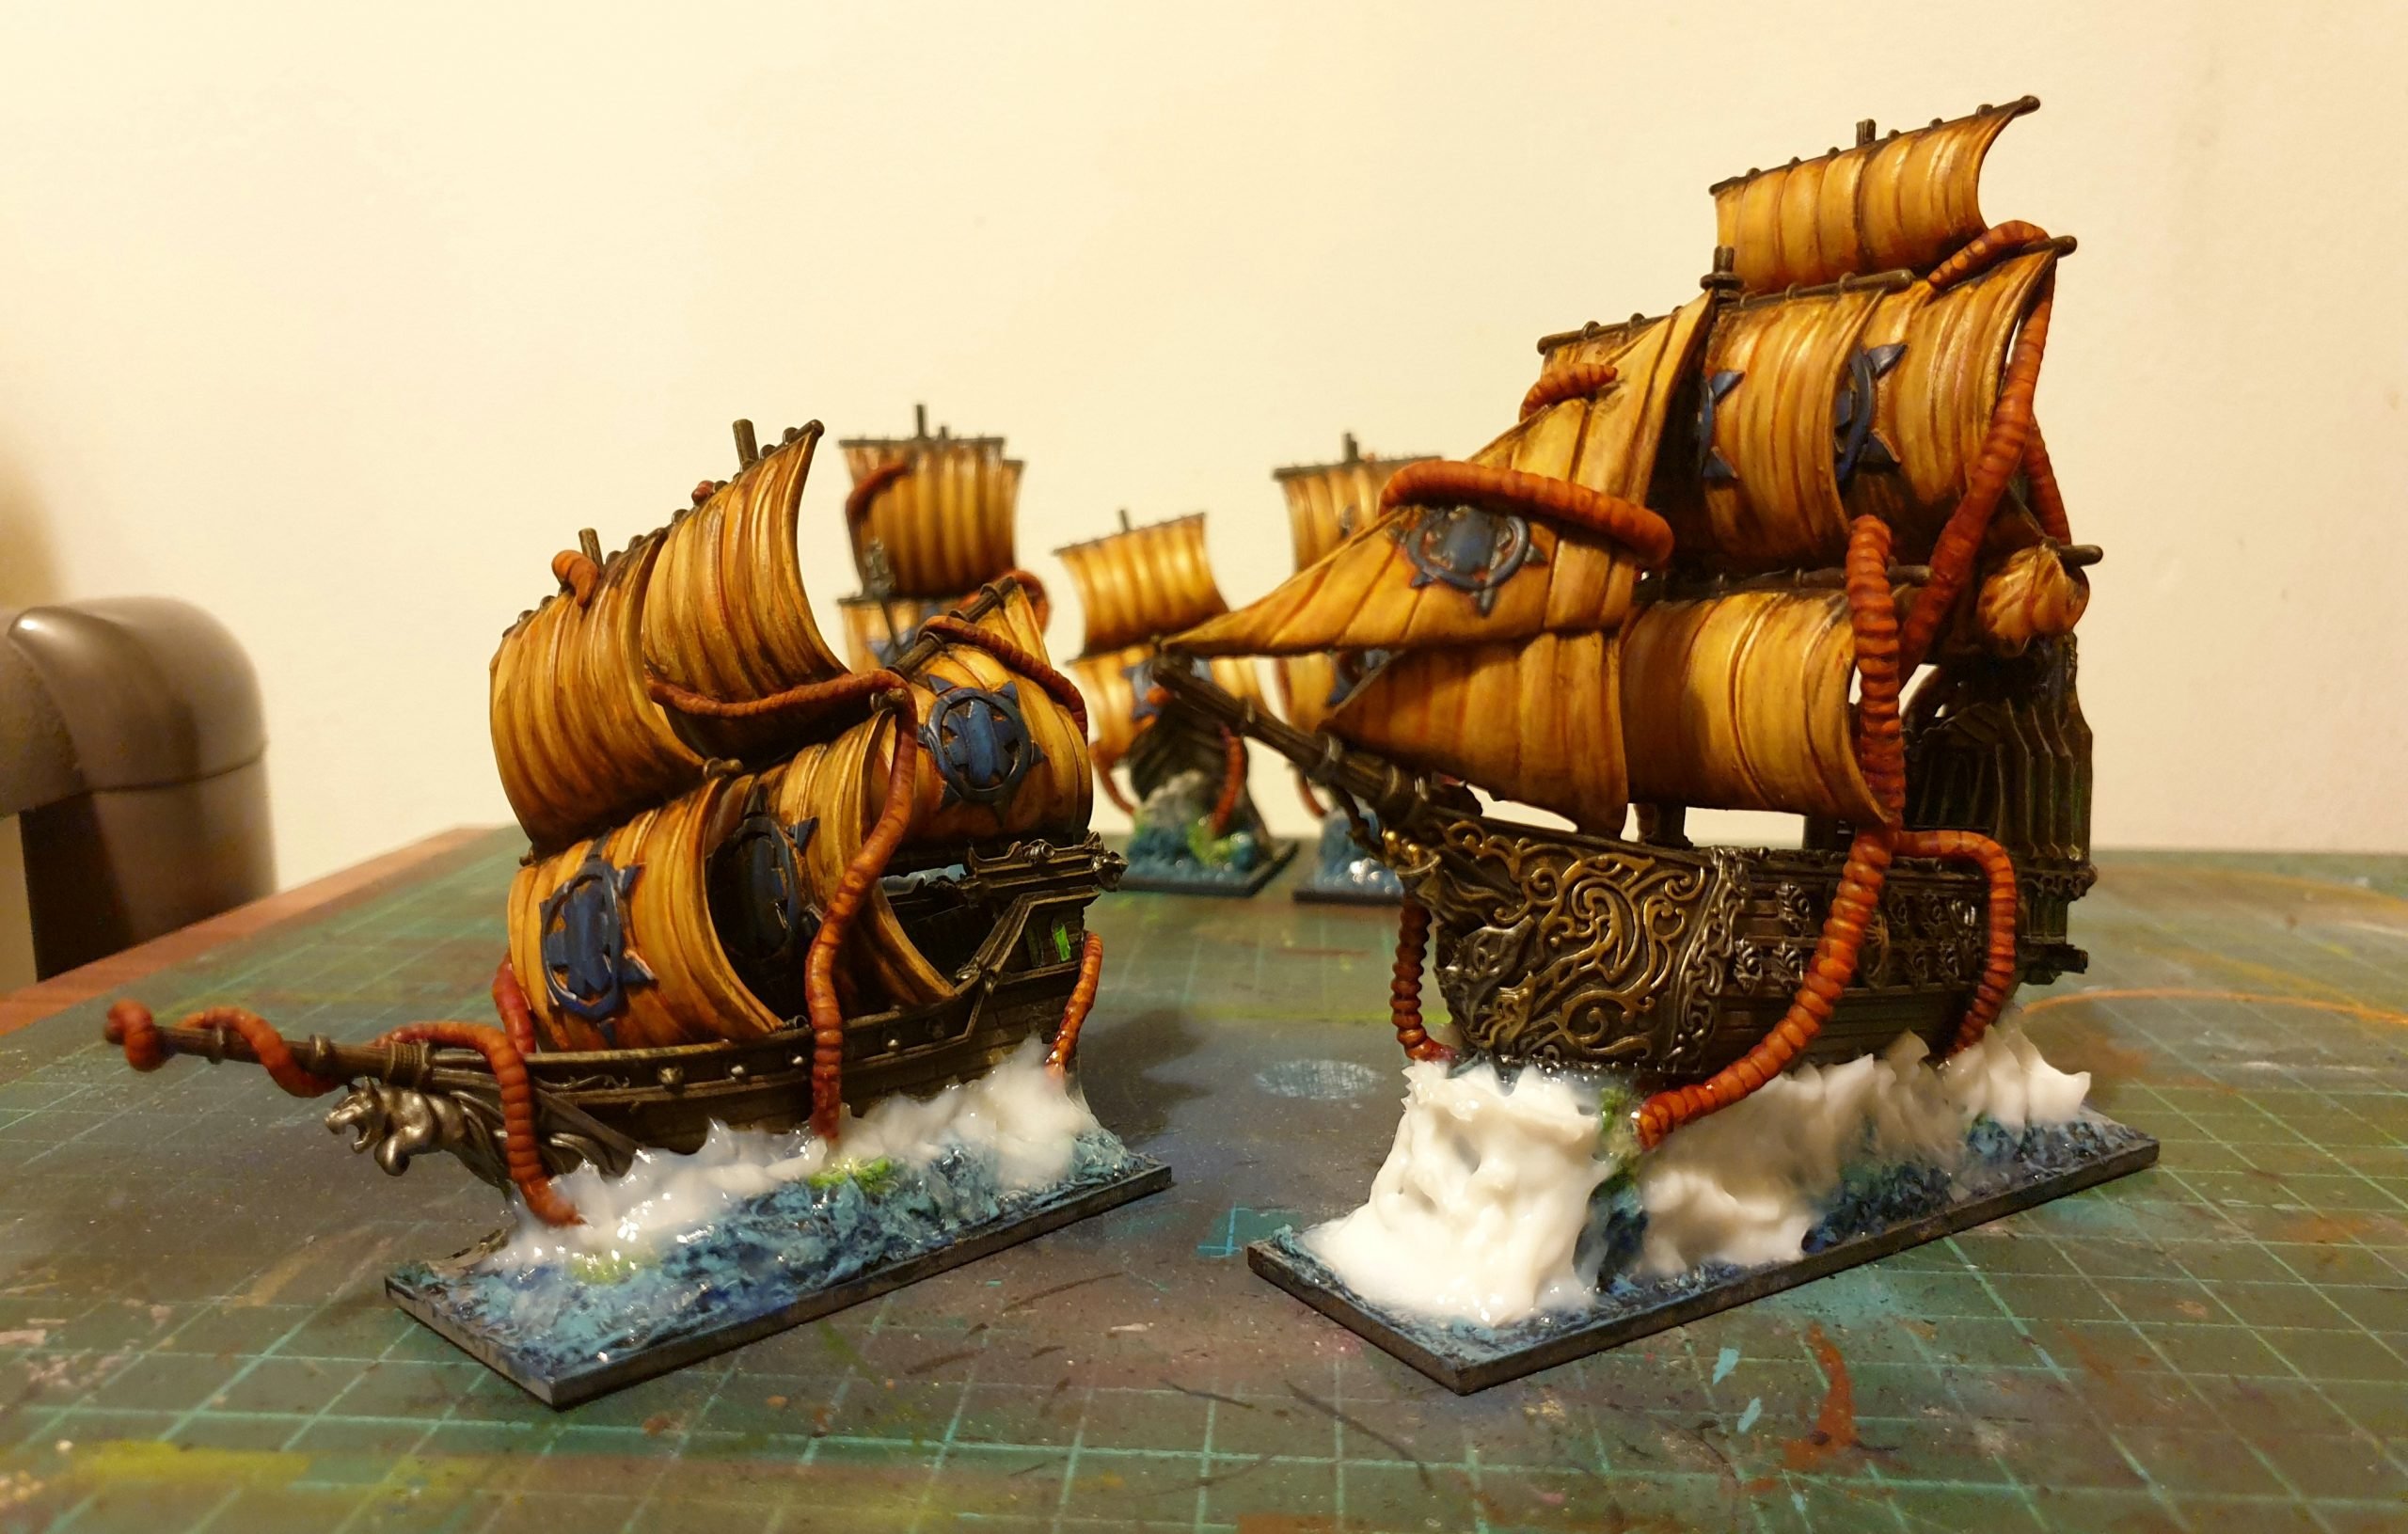
At this point, you want to just put them to the side for a day or so to properly cure. You dont want to ruin all your hard work now so just stop tinkering.. STOP IT! Good...
The final step is the breaking water. This was a fun bit and something i'd never tried before. I mixed some AK Interactive Snow Microbaloons and Vallejo Water Texture to create something that resembled the thickness of single cream.
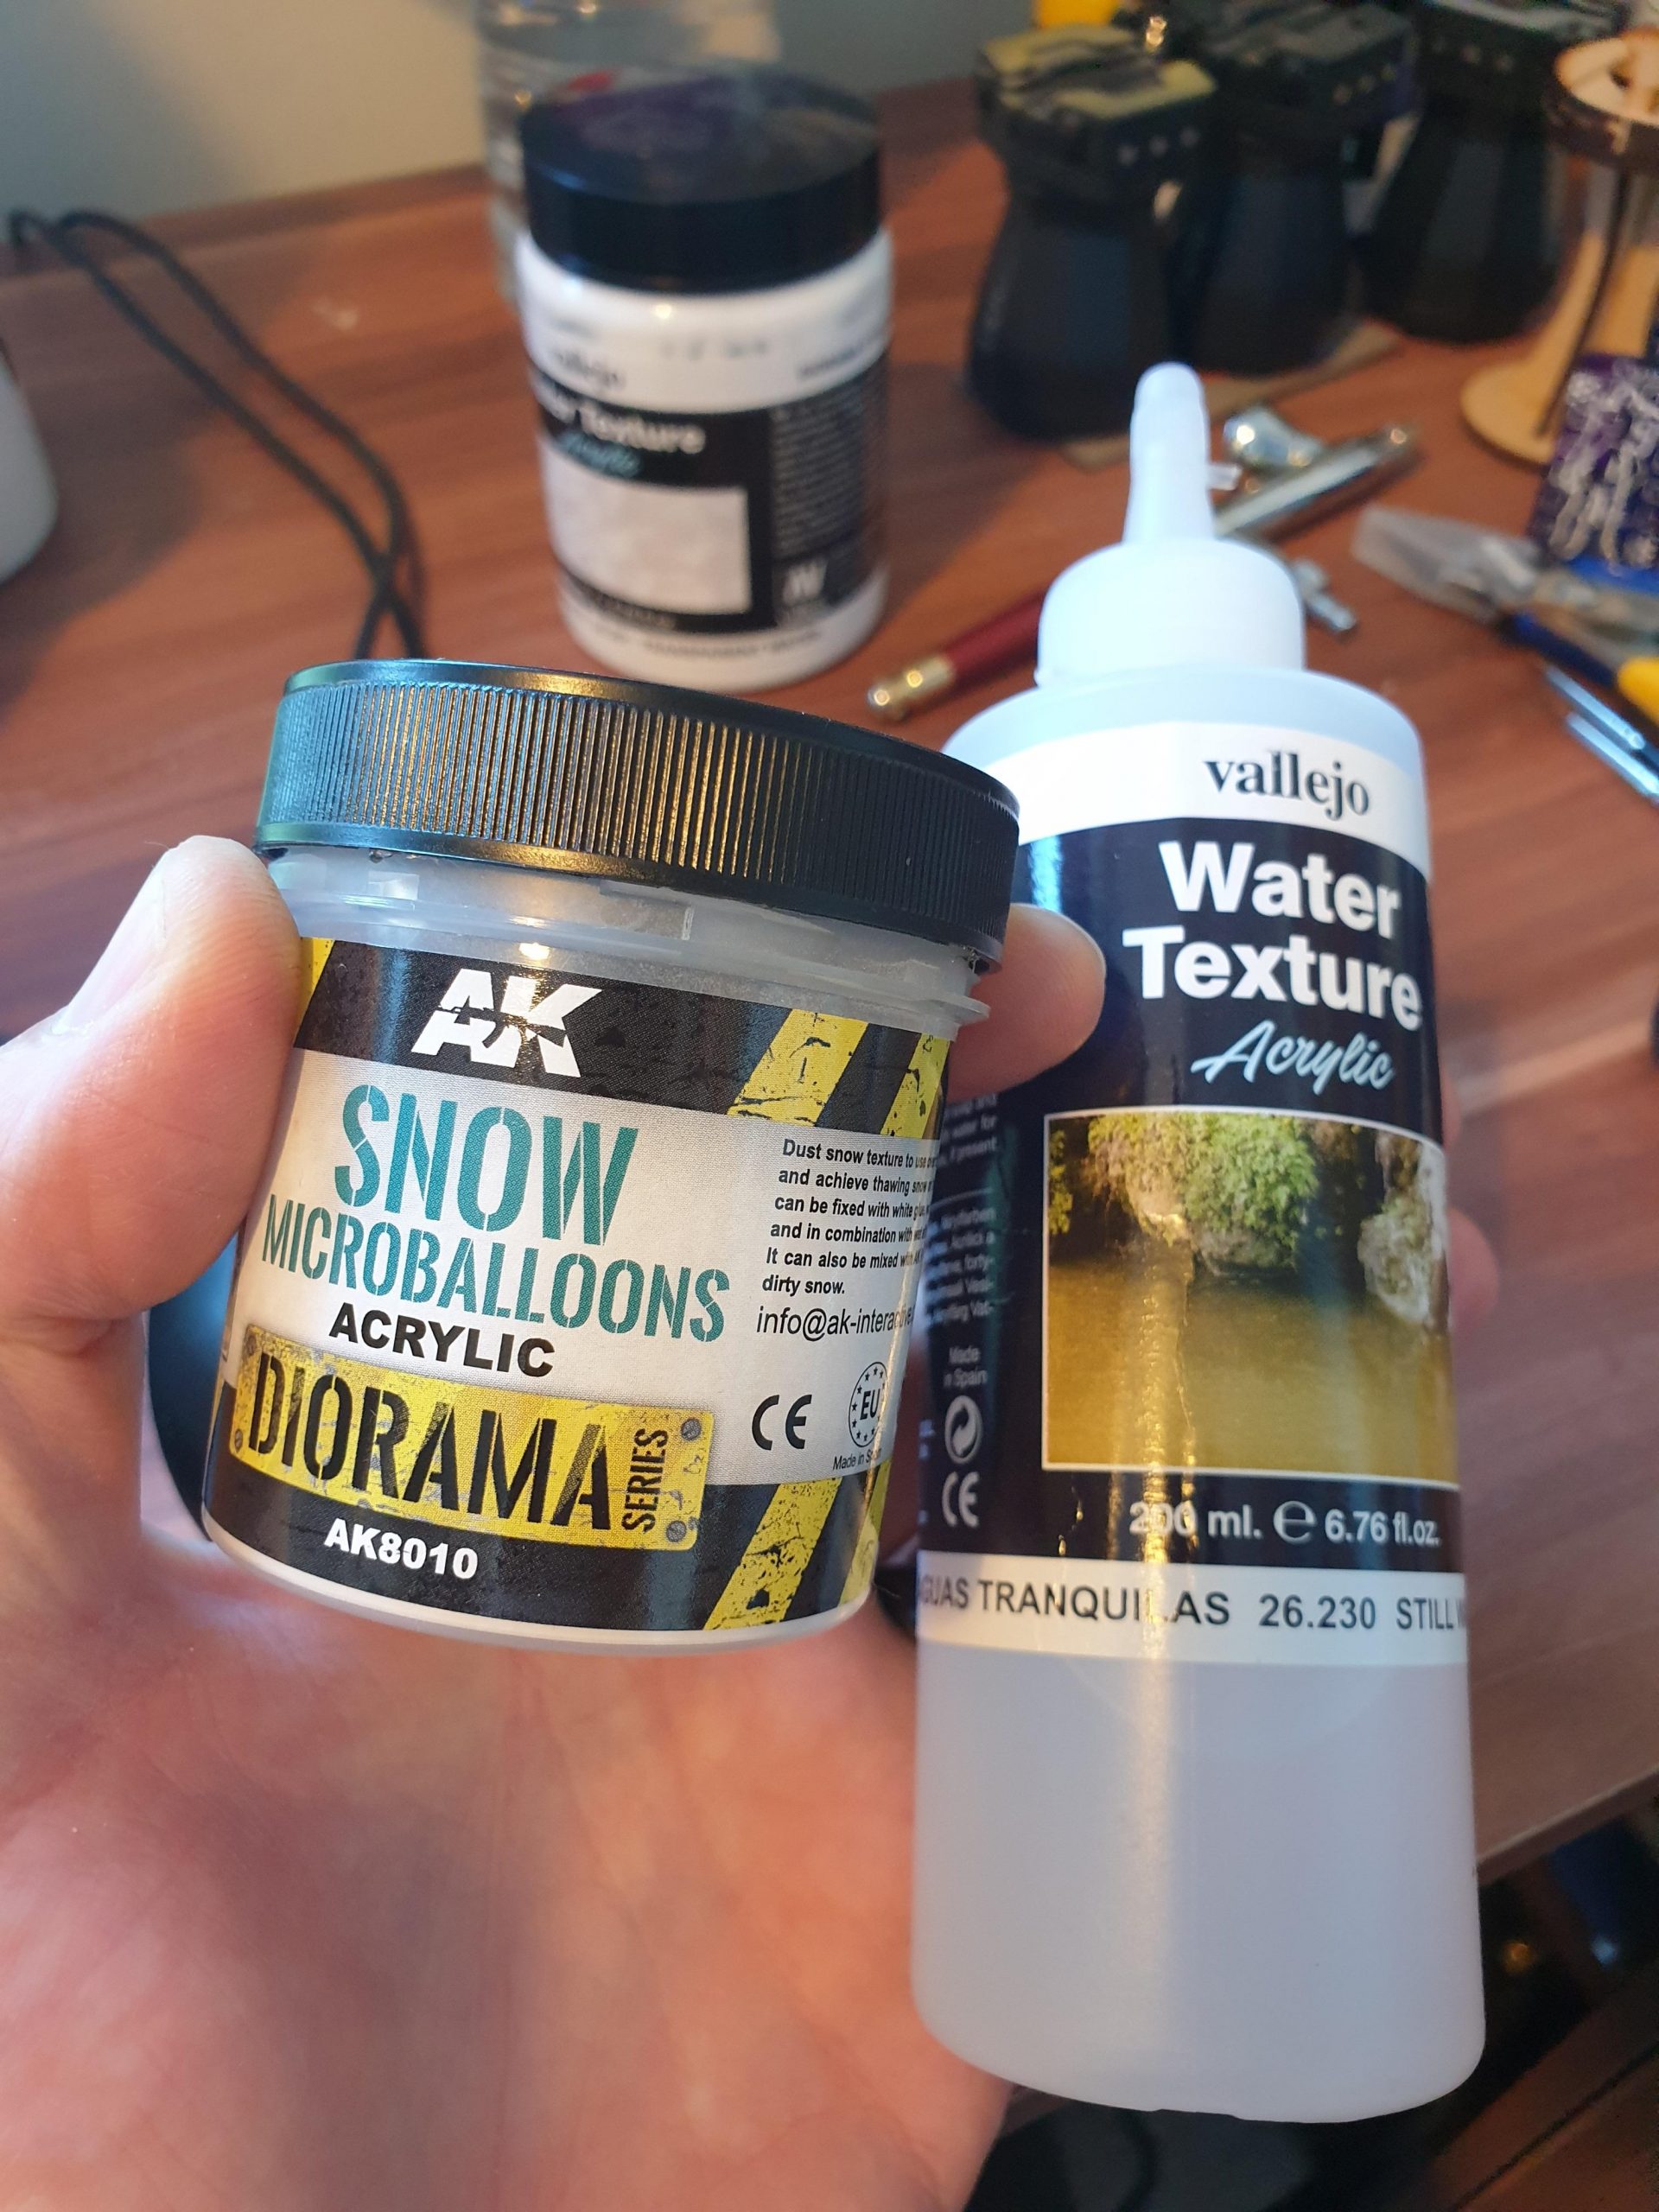
Again, using an old brush I stippled this onto the areas that looked like they would be breaking water. This was around where the tentacles were breaking through the sea, plus around where the water was hitting the hull. It does dry quite quickly, so don't hang around too long to get it on your model.
And that's it! takes a bit of time, but the effect looks quite cool and I was fairly happy with the results. If you do have a go it would be great to see how you get on in the Facebook group! Have Fun!


 GBP
GBP  EUR
EUR  USD
USD 